This is where the quote will be.
To setup location simulation you’ll need Xcode 4.2 or newer, so make sure you’ve updated your app to that version or beyond. If you don’t have it already, download Xcode it from App store.
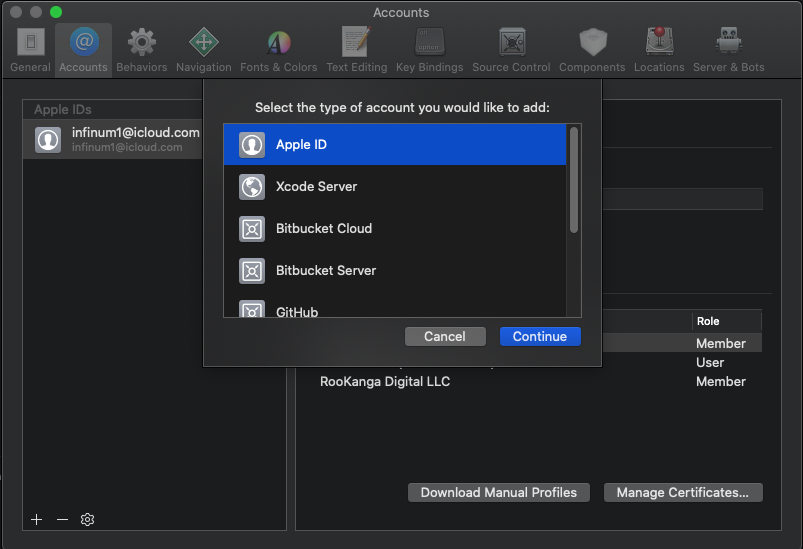
First thing you should do after installing Xcode is to go to Xcode -> Preferences -> Accounts, click on "+" button in the lower left. In a new window select Apple ID, click Continue and enter Infinum iCloud account credentials (you can get them in 1password). If you've already done this for previous projects, skip this step.
After that’s taken care of, you’ll need to download this project on GitHub. Download the ZIP file and unpack it where it suits you best.
You should see something like this:
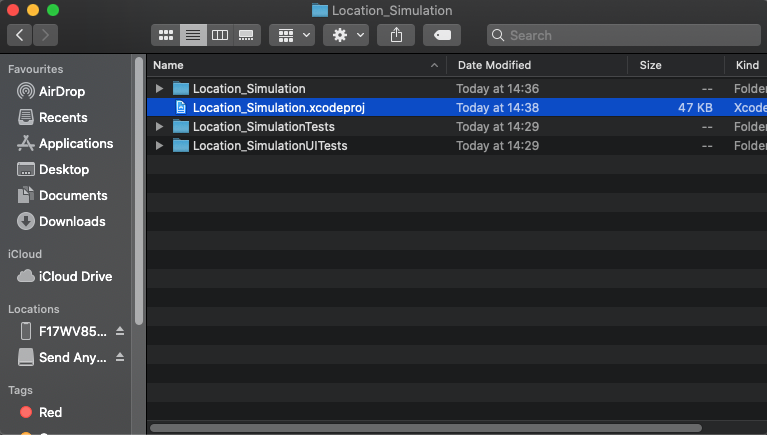
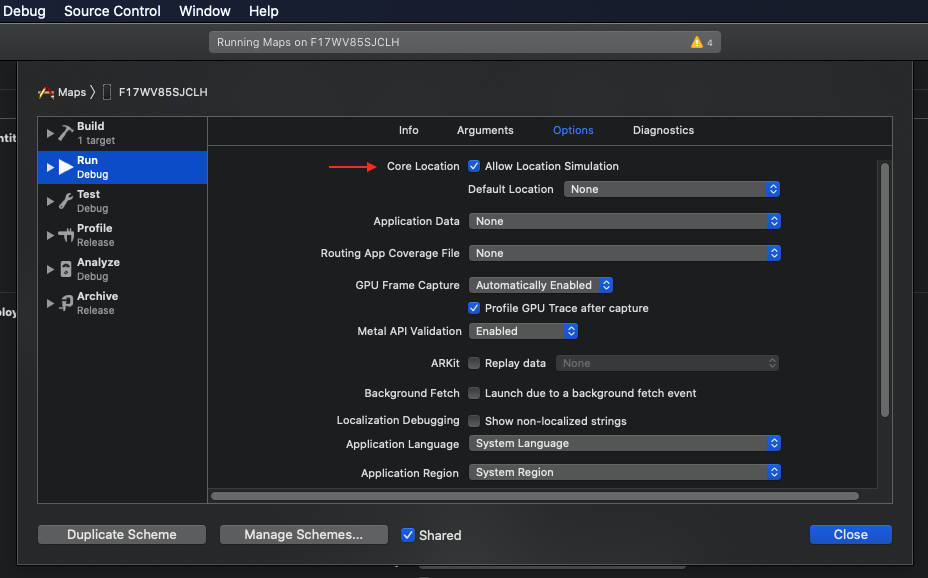
Connect your iPhone or iPad to your Macbook and double-click on Location_Simulation.xcodeproj. Let Xcode to start up and go to Product -> Scheme -> Edit Scheme or press Command+Shift+, . There, make sure the Allow Location Simulation checkmark is checked.
There are several locations you can already choose from, but if you need to import custom locations you’ll need to generate GPX file first. You can do it on many sites, this one does the trick well enough. Pick your location on the map in upper left corner, click “Update”, and in the lower right corner name your file and download it in desired format.
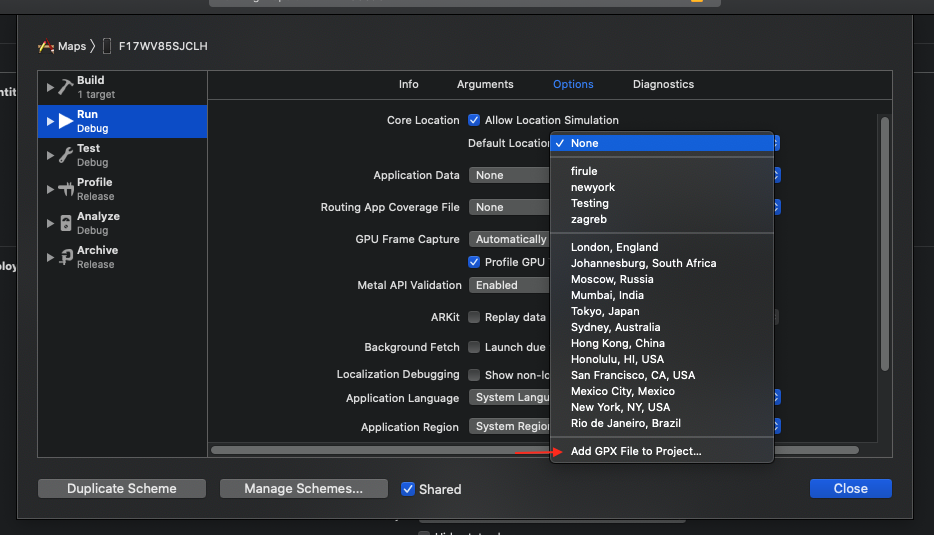
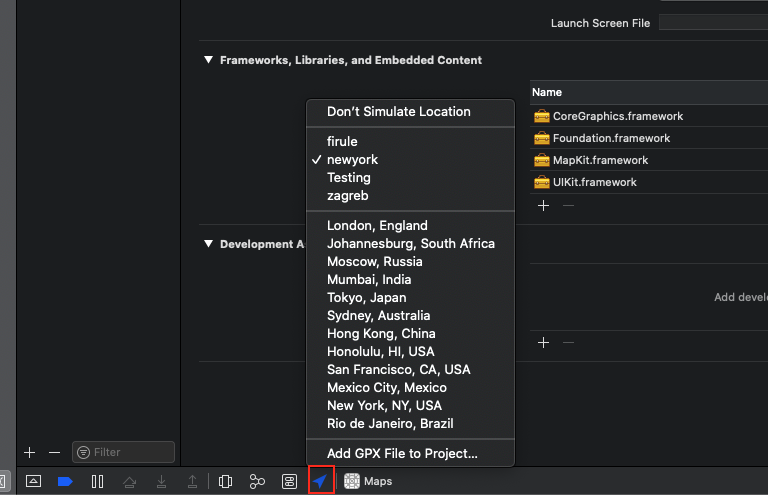
There are two ways to import GPX files to project. First one is to add it from within Scheme Editor: Click the dropdown menu next to Default Location and click Add GPX File to Project… Navigate to the file and select it and have Xcode copy the file into the destination group’s folder.
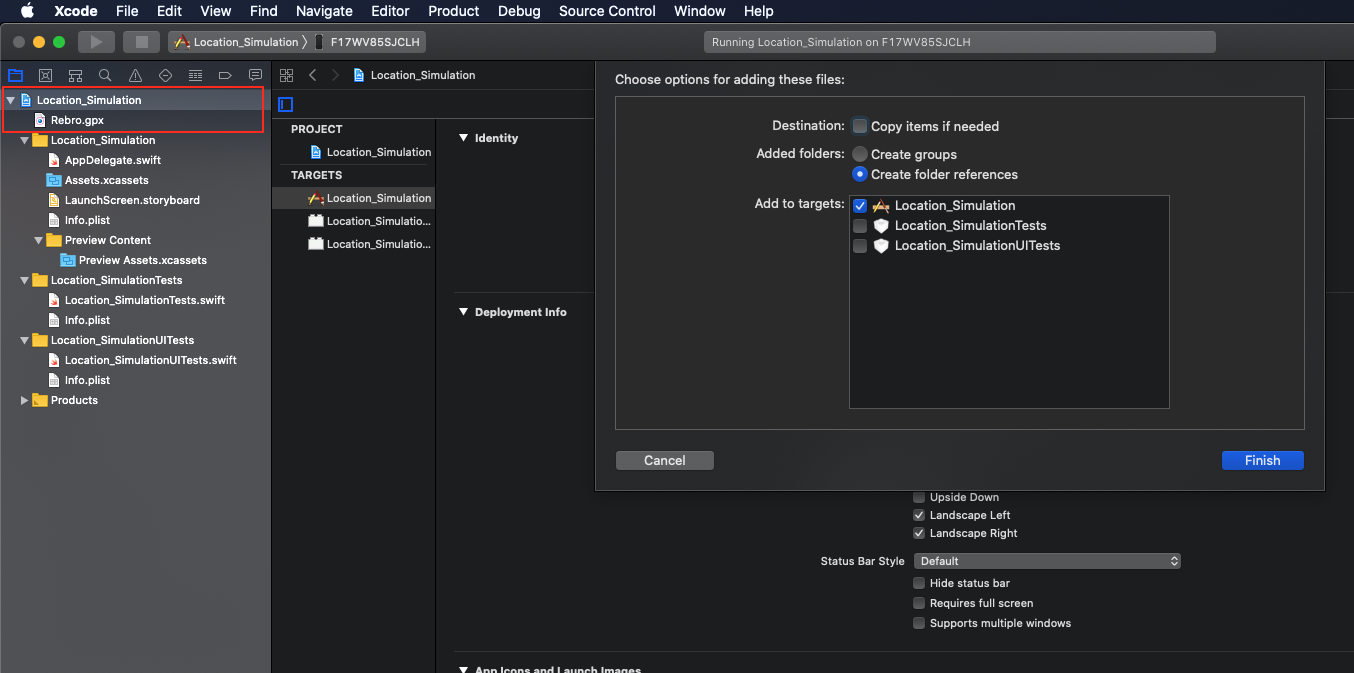
The second one is simply to drag and drop the file(s) to the group in Xcode, as marked in the picture below. In the window that will pop up to the right, check that Add to targets: has Location_Simulation selected and click Finish.
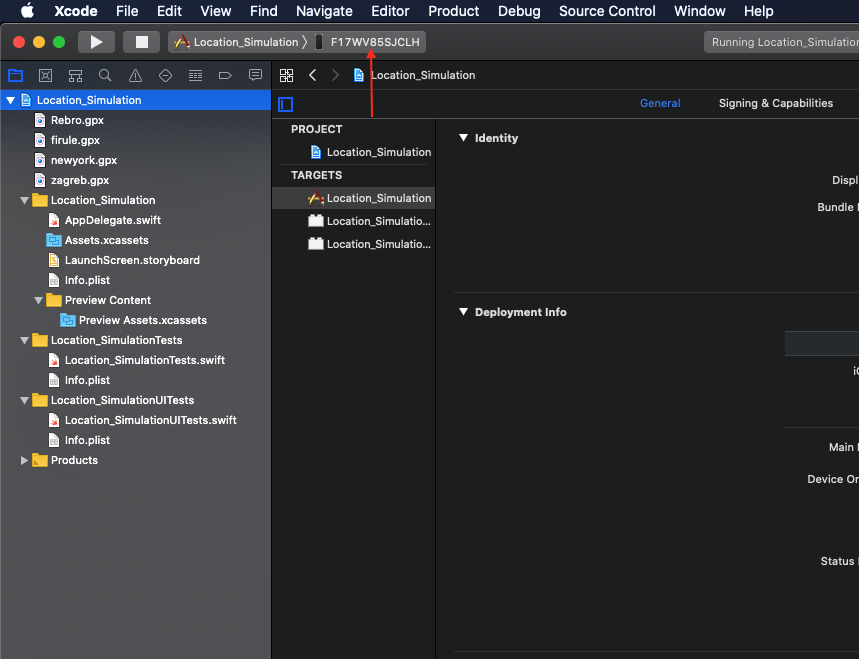
Click on dropdown menu to the right of Play and Stop buttons and select your device. It should be at the top of the drop-down menu. You can click Play afterwards. Make sure the device is unlocked.
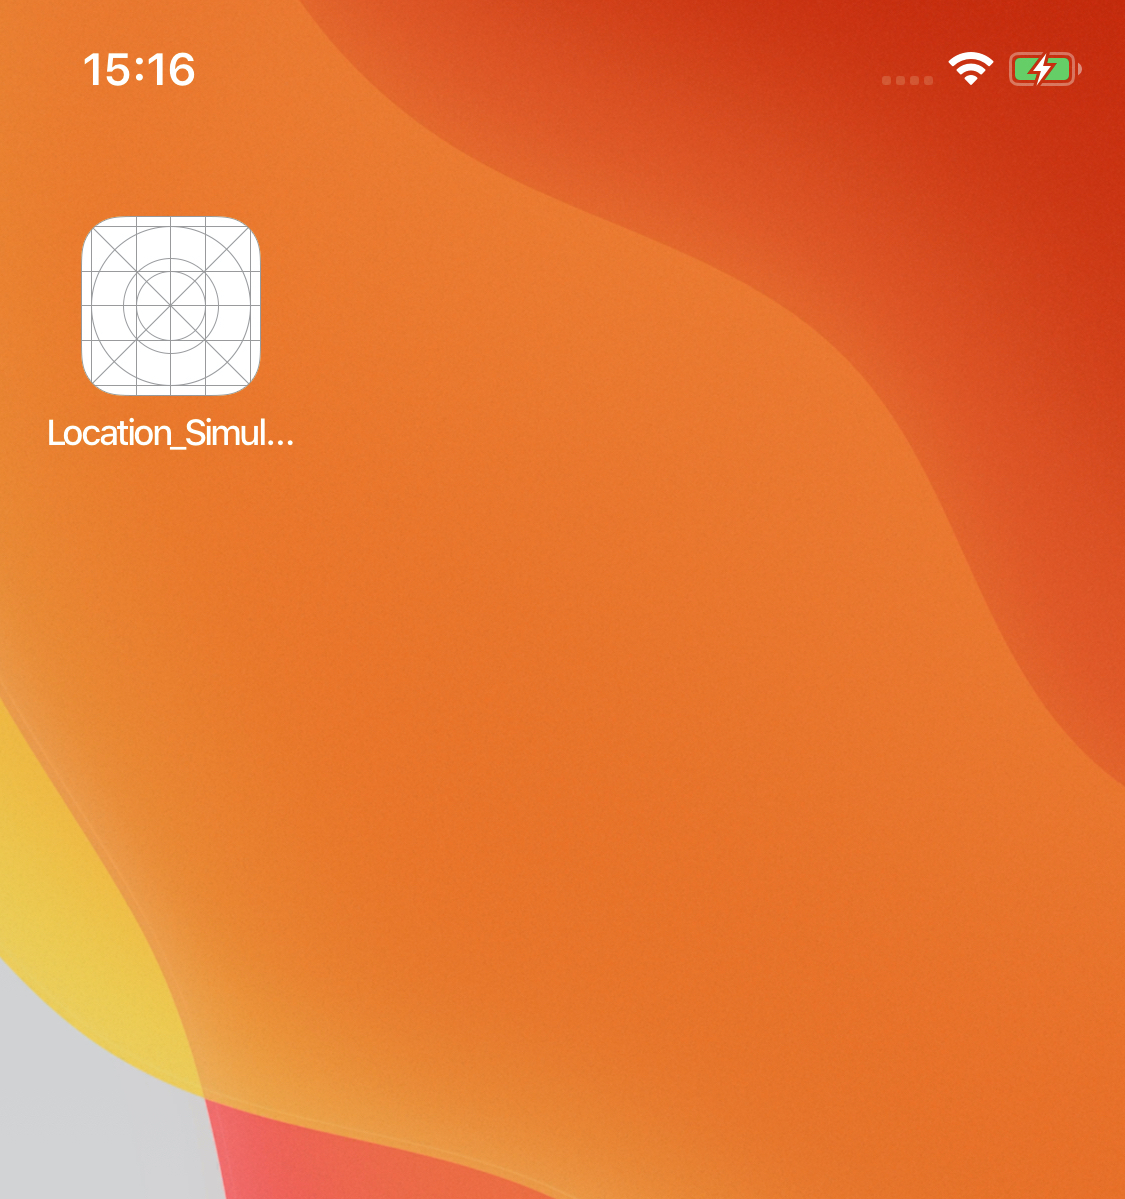
Xcode should build the project, install the app on your test device and run it automatically. When the process is completed you will see it's icon and name on the screen first, and shortly after the screen will go black - leave it running in the background.
In Xcode, click blue Location Simulation icon (bottom ribbon) and select desired location. On your device, check Apple Maps that your simulated location is displayed, and not the real one.
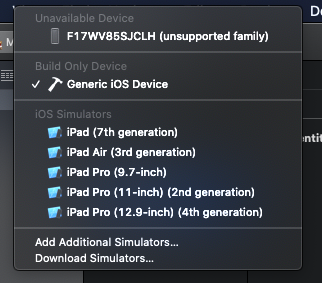
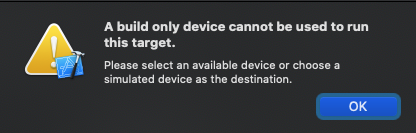
It is possible might see (unsupported family) next to your device and an error after clicking Play:
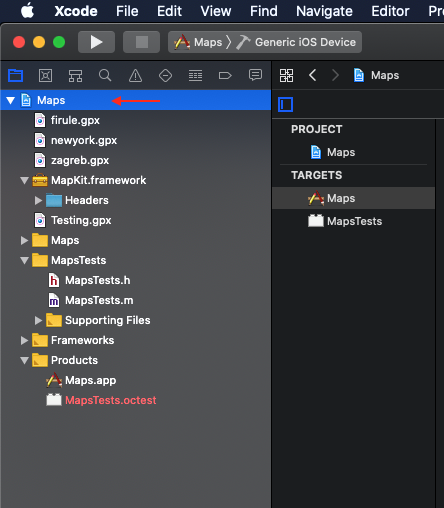
In that case, click on Maps in the structure tree along the left side of Xcode, you should see what looks like (and are) project settings.
Find (and expand if needed) Deployment Info, this is what you should see:
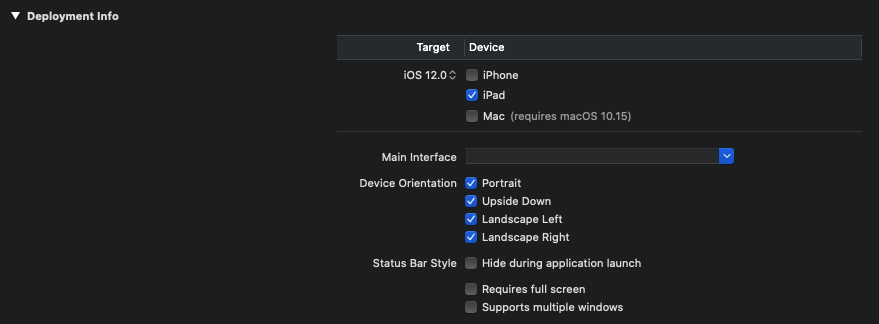
There, make sure correct device type is selected (you can have both selected at the same time), and that iOS version selected is older than or at least matches the one on your test device. Save changes with command + s and click Play again.