Testing a web application on every browser and platform is not a simple task. There is a tool that you can use to make this process easier. BrowserStack might solve your application testing problem.
What is BrowserStack?
BrowserStack is a cloud web and mobile testing platform that provides the ability to test websites and mobile applications across on-demand browsers, operating systems, and real mobile devices.
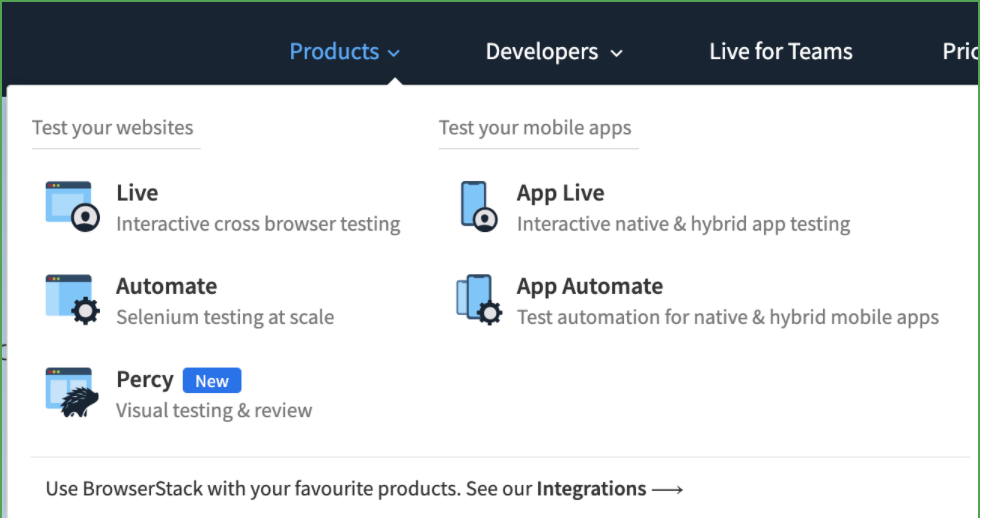
BrowserStack consists of four primary products:
- Live
- App live
- Automate
- App Automate
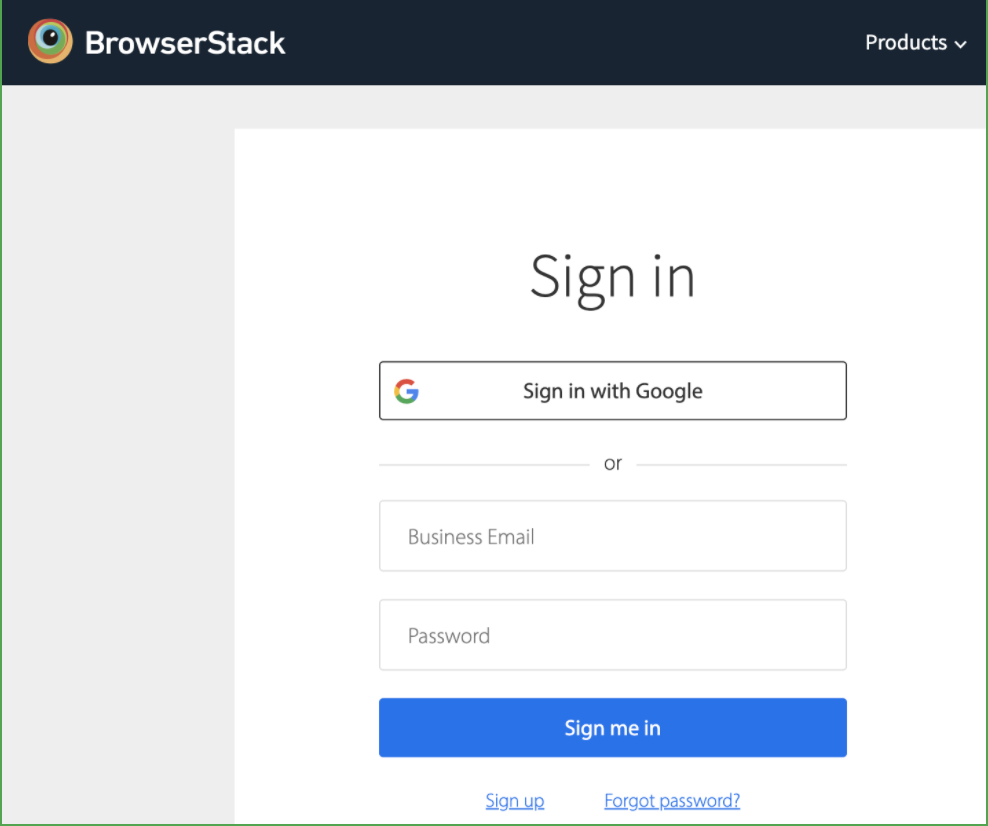
BrowserStack can be accessed on its login page using credentials found in 1Password. Please, do NOT change the login credentials and do NOT enable SSO without consulting with QA Team Lead(s).
What is cross-browser testing?
Cross-browser tests are functional tests. These tests are performed to check whether an application works as expected in different web browsers and operating systems. We can run test cases manually or automated by specifying different browsers in automation scripts.
BrowserStack's main advantages
- Cross-browser testing with different browsers on different operating systems.
- Native app testing on real mobile devices.
- Hybrid application testing.
- Option to run automated test for web and mobile apps.
Testing a web app using desktop browsers
- Log in.
- Choose the "Live" (Interactive cross-browser testing) option from the Products dropdown.
- Choose an OS (Windows or Mac) from the list (on the left side). You will then see a list of browsers with different versions.
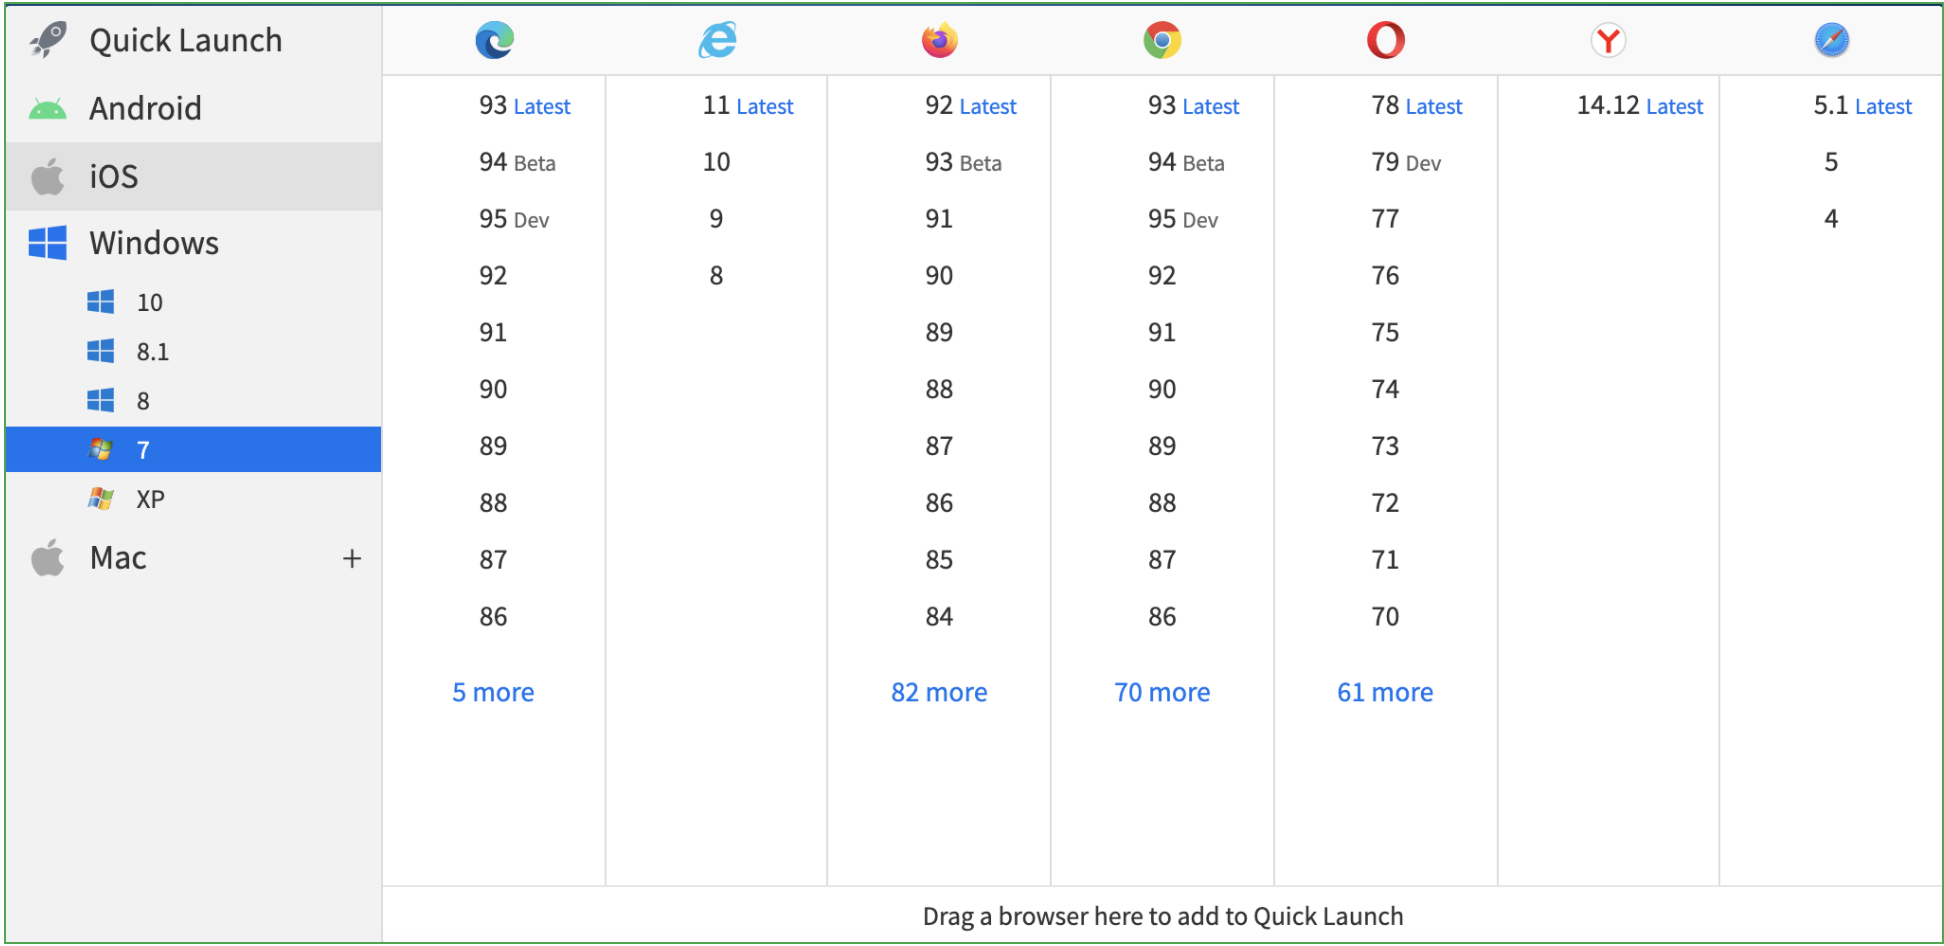
- Choose a browser version that you want to test on.
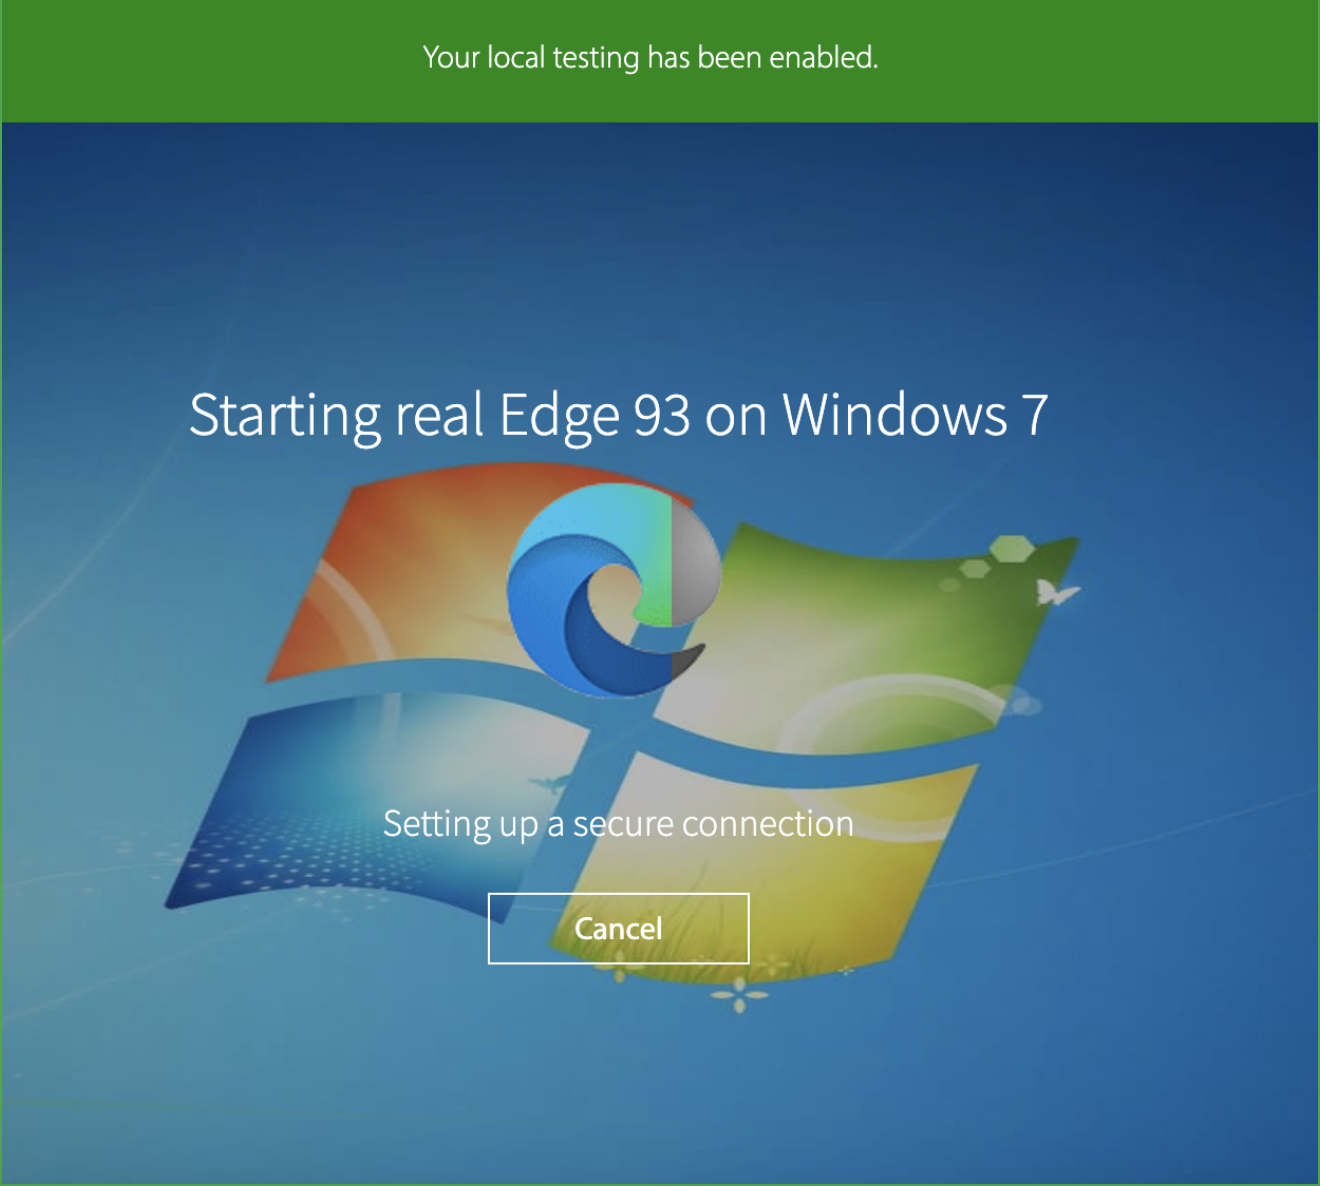
- Once the browser opens, enter the URL of the web application you want to test. You can test the app the same way as you would do in real system browsers.
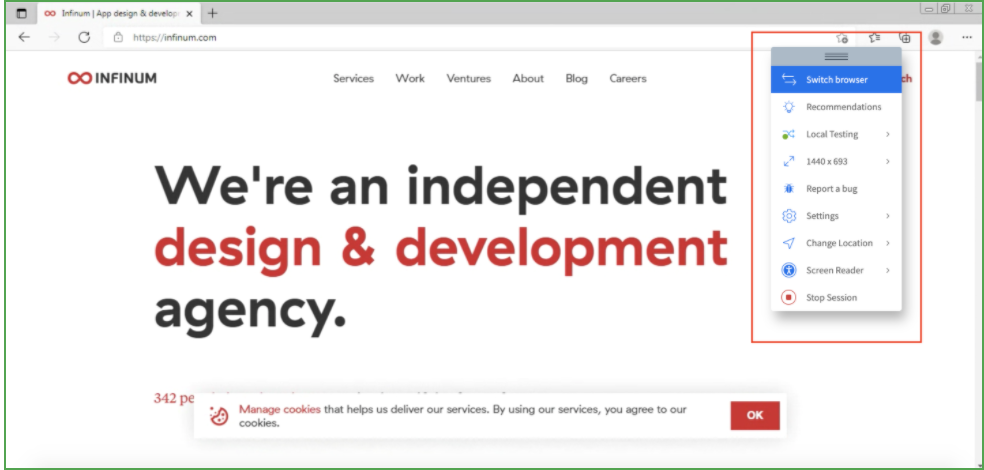
Live options
- Switch Browser - if you want to choose a different browser, click on the "Switch Browser" option (this will take you to the Dashboard screen where you can select another browser).
- Resolution - if you want to test the application on a different resolution, click the "Resolution" icon and a list of available resolutions will appear.
- Local Testing - to resolve all requests to local URLs via your machine, click on the "Local Testing" icon and check "Resolve all URLs through my network" option. Local Testing gives you the option to test websites hosted on your private network.
- Report a bug - it gives you the option to highlight a bug, and send the bug report along with a screenshot (via Jira, Trello, GitHub, Slack, or email) or you can download the screenshot.
- Stop Session - when you finish testing in a specific browser, click "Stop Session" to return to the Dashboard.
Testing a web app using mobile browsers
- Choose the "Live" (Interactive cross-browser testing) option from the Products dropdown.
- Choose an OS (Android or iOS) from the list (on the left side). You will then see a list of avialable devices.
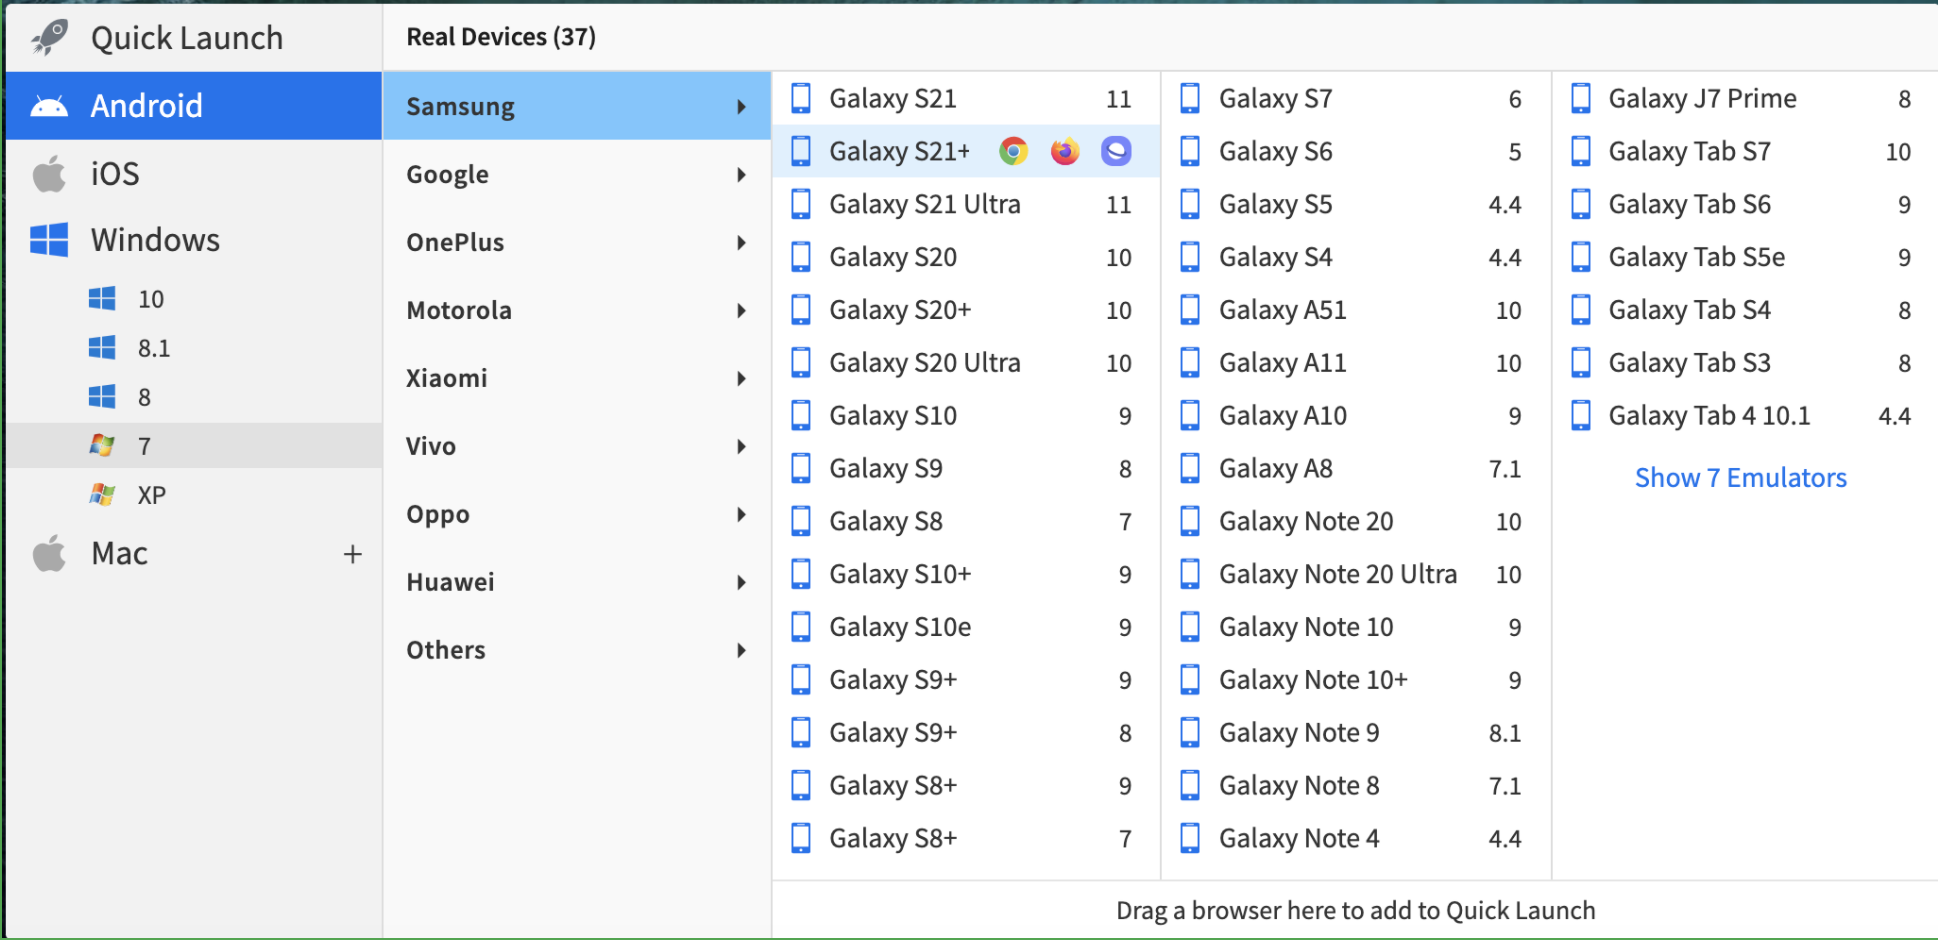
- Hover over the device you want to test on and you will see the supported browsers (like Chrome, Mozilla Firefox, Safari, UC browser, etc.)
- Select a browser. The selected browser will open.
Testing a native mobile application on real devices
- Choose the "App Live" (Interactive native & hybrid app testing) option from the Products dropdown.
- You will see 3 main options there (to choose/upload the app, a list of Android devices, and a list of iOS devices).
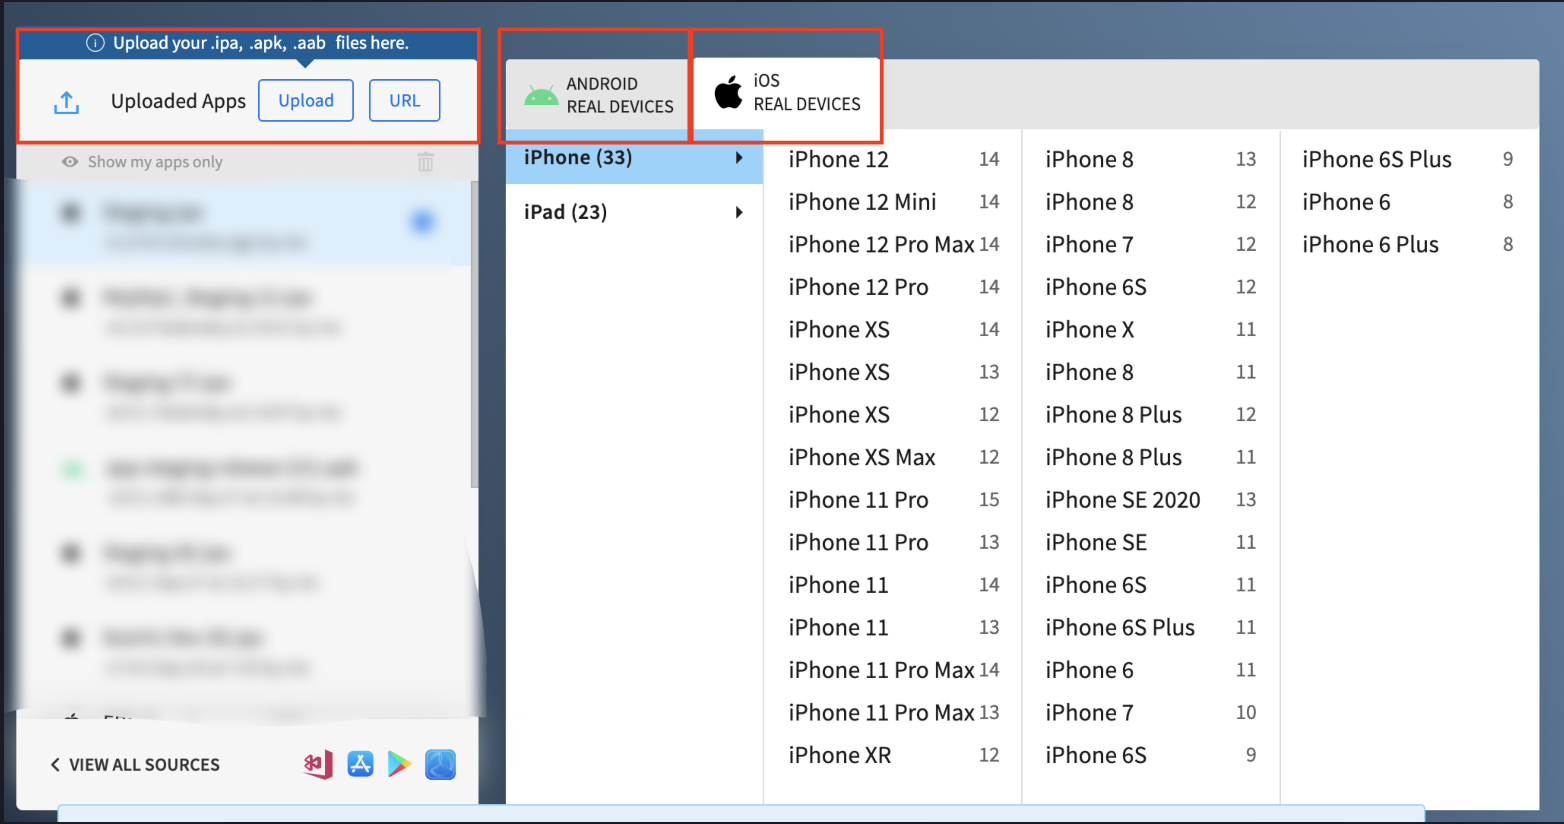
- Click on the "Upload" button and a system dialog box will open.
- Select the app file you want to upload. The uploaded app will be visible under the "Uploaded Apps" section. (Note: the app upload limit size is 1 GB).
- Once the app is uploaded, select the app file along with the device you want to test on. The session will start and the app will be installed on the chosen device.
There are also some alternative ways to install the app:
- installing via Play Store, App Store or TestFlight
- sync with App Center
Installing an app via Play Store:
- Open the "Sources" list
- Choose "Install via Play Store"
- Select an Android device from the "Android Real Devices" tab. The session will start and Play Store will open on the device.
- Sign in to your account and find the app you want to test.
- Download and install the app.
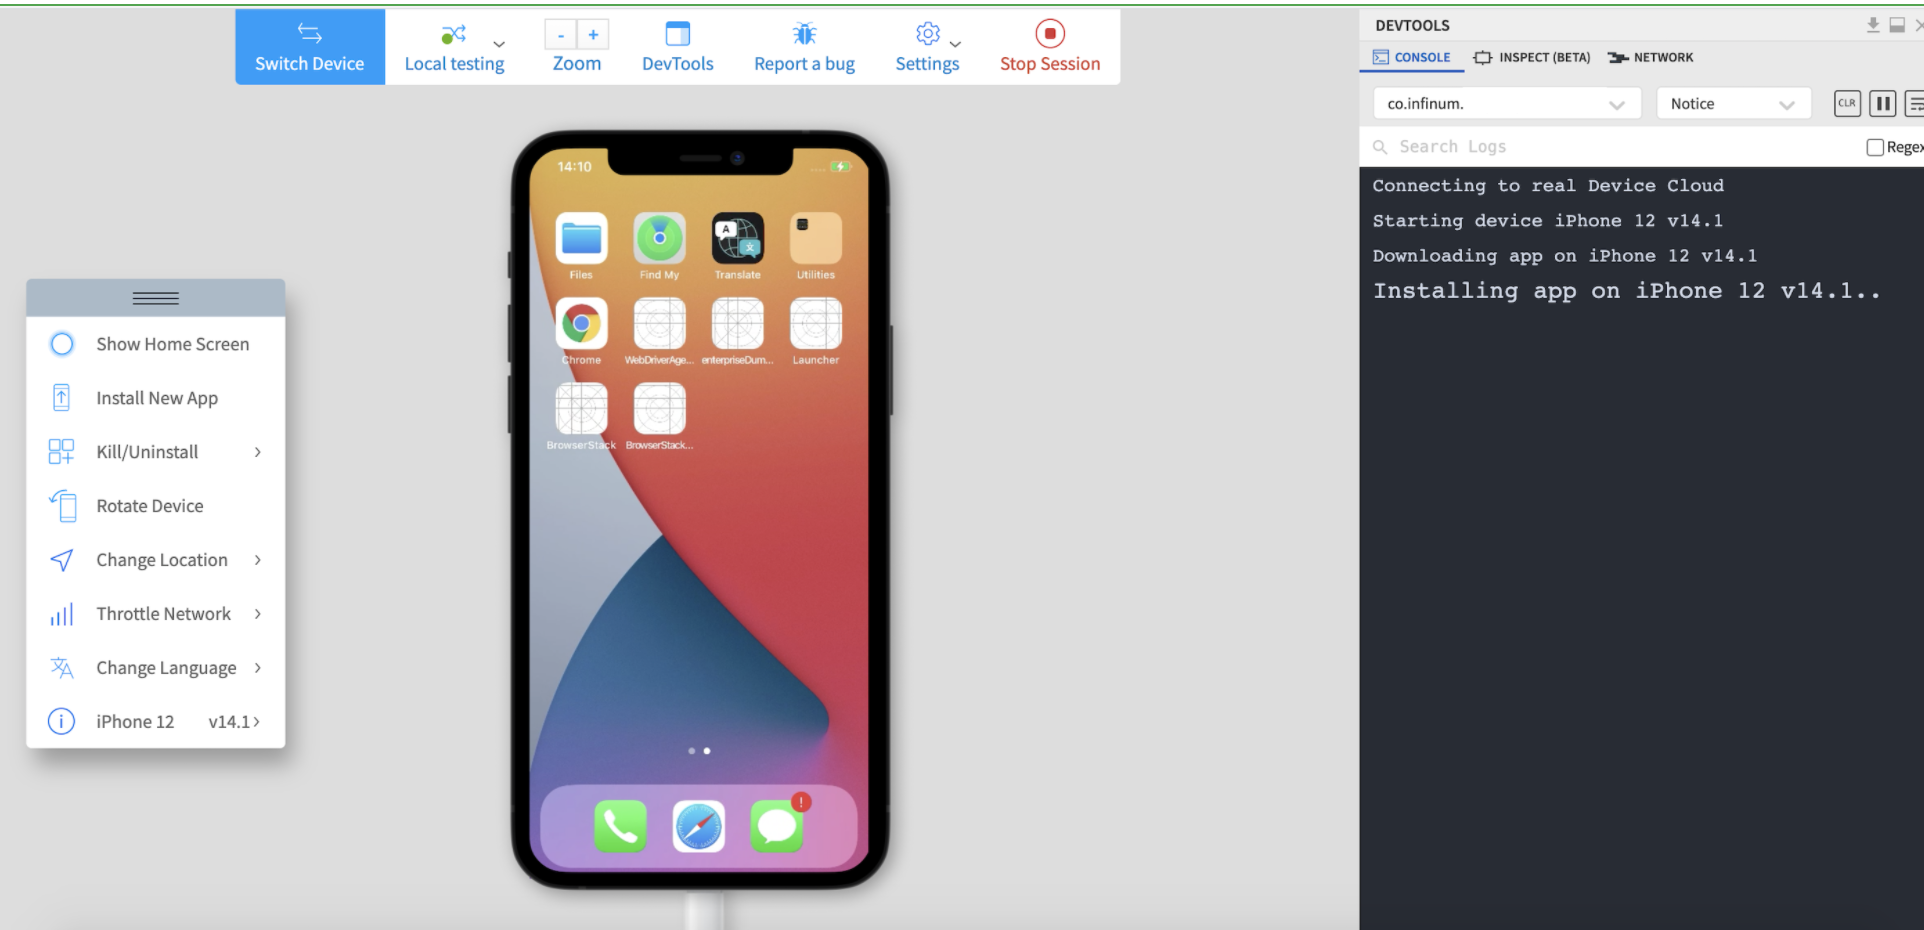
App Live options
- Switch Device - if you want to choose a different device, click on the "Switch Device" option.
- Local Testing - to resolve all requests to local URLs via your machine, click on the "Local Testing" icon and check "Resolve all URLs through my network" option.
- Stop Session - when you finish testing in a specific device, click "Stop Session" to return to the Dashboard.
- Rotate Device - use this option to rotate the device horizontally or vertically.
- Install New App - install a new application to the selected device.
- Kill/Uninstall - option to close or uninstall the app on the device.
- Change Location or Language - you change the location and language data.
- Device Info - you can find complete device information there.
BrowserStack vs real device testing
Browserstack (cloud-based)
BrowserStack offers a cost-effective and flexible approach to cross-platform testing:
It is generally inexpensive as it operates on a subscription model, eliminating the need to purchase individual hardware.
Provides access to an extensive range of browsers, devices, and multiple OS versions (including both web and native mobile application testing on real devices in the cloud).
There is no requirement to purchase individual operating system licenses.
A potential drawback is occasional latency or slowness due to the time required to load the remote environment (e.g., initializing the OS, browser, and app installations).
Real device testing
Testing on physical devices offers direct control but comes with significant overhead:
Cost and Logistics: This method is substantially more expensive due to the mandatory purchase of every device needed for testing coverage.
Portability and Management: It is impractical and inconvenient to manage and transport a large inventory of devices.
Licensing: You must purchase and manage the necessary OS licenses for the devices, adding to the overall cost.