Everything is a test. - Terry Pratchett
If you are using Jenkins for test automation it would also make sense to make the most of it. Jenkins offers a bunch of useful plugins that can you can add to the project.
Some useful ones are:
- HTML Publisher
- Slack Notification
How to install Jenkins plugins
You might need an admin account to perform these actions.
- Log into Jenkins
- Open Jenkins Dashboard
- Click Manage Jenkins in the left-hand side menu
- Select Manage plugins
- Search for the desired plugin
HTML Publisher
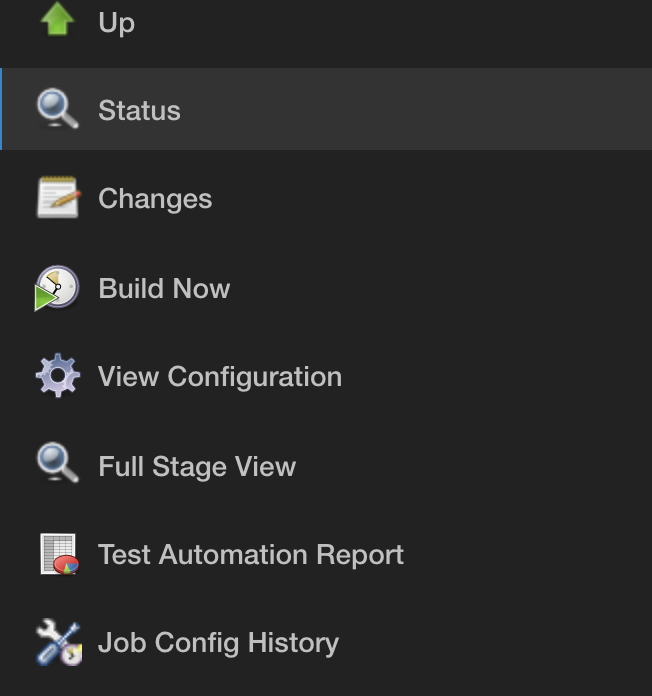
HTML Publisher is used for publishing generated HTML reports to the Jenkins job page. If you are using HtmlTestRunner to generate HTML test reports, then this plugin will come in quite handy. With the HTML Publisher plugin, you can have the HTML report shown in the left-hand side menu of the executed job after a job has finished.
How to configure HTML Publisher
You can configure HTML Publisher in two ways:
- in the post-build section of the Jenkins job
- as part of Jenkins Pipeline
Configure HTML Publisher with Jenkins Pipeline
To configure the plugin with Jenkins Pipeline, simply reference the publishHTML step in your pipeline.
Add the following code snippet to the project's Jenkinsfile:
publishHTML target : [
 allowMissing: false,
 alwaysLinkToLastBuild: true,
 keepAll: true,
 reportDir: 'reports',
 reportFiles: 'myreport.html',
 reportName: 'My Reports'
 ]
Content Security Policy in Jenkins
You might come across some issues such as CSS not being rendered in your HTML reports. This is because of the Content Security Policy in Jenkins.
To disable this rule, do the following:
- Open Jenkins Dashboard
- Click Manage Jenkins in the left-hand side menu
- Select Script console
- Type in the following command:
System.setProperty("hudson.model.DirectoryBrowserSupport.CSP", "") - Click Run
- You will see the output Result below the "Result" header meaning the protection is disabled
- This will be reverted to default in case Jenkins server is restarted. So, a better way would be to include it in the Jenkins configuration file located in the etc/default directory
Slack Notification
Slack Notification plugin provides Jenkins notification integration with Slack. After a build job is done, the notification is sent to the specified Slack channel. You can configure the notification to show various details such as build success color, build number, link to the console log or HTML report, etc.
How to configure Slack Notification
You have to configure Slack for Jenkins to send messages to it. To do this, a custom Slack app (a bot) has to be created, using an Administrator account. Invite the bot to the Slack channel to which you want to send the notifications. The bot will then take care of displaying the notifications.
Configure Slack Notification with Jenkins Pipeline
To configure the plugin with Jenkins Pipeline, reference the slackSend step in your pipeline.
Example of a code snippet that you can add to the project's Jenkinsfile:
slackSend channel: '#test-automation-report', message: "SUCCESS: Report: ${BUILD_URL}Test_Automation_Report"
This is just a tiny snippet. There are quite a few things you can add to the notification. See the example below.
Jenkinsfile example
The example below shows the entire Jenkinsfile (using the declarative pipeline approach).
Since we want the HTML report and Slack notification to be generated after the build job is done, we have to include them in the post stage.
With the Slack notification, you can also specify in which cases you want to send the notification. In this case, the notification is sent in case of both success and failure.
pipeline {
    agent any
    triggers { cron ('H 22 * * 4,7')} // Triggers at 22 PM every Thursday and Sunday
    stages {
        stage('Install requirements') {
            steps {
                sh 'python3 -m venv venv'
                sh 'source venv/bin/activate'
                sh 'python3 -m pip install --upgrade pip --user'
                sh 'python3 -m pip install -r requirements.txt'
            }
        }
        stage('Test') {
            when { branch "master" }
            steps {
                sh 'python3 runner.py --platform=android --platform-version=10 --device-name=JNY-LX1 --report'
            }
        }
    }
    post {
       always {
        publishHTML target: [
              allowMissing: false,
              alwaysLinkToLastBuild: false,
              keepAll: true,
              reportDir: 'reports',
              reportFiles: 'TestAutomationReport.html',
              reportName: 'Test Automation Report'
            ]
       }
       success {
           slackSend color: '#5dff54', channel: '#test-automation-report', message: "SUCCESS: <${BUILD_URL} | build #${BUILD_NUMBER}>" +
           "\nBranch: ${BRANCH_NAME}\n<${BUILD_URL}Test_20Automation_20Report/ | HTML report>"
       }
       failure {
           slackSend color: '#ff0000', channel: '#test-automation-report', message: "FAILURE: <${BUILD_URL} | build #${BUILD_NUMBER}>" +
           "\nBranch: ${BRANCH_NAME}\n<${BUILD_URL}Test_20Automation_20Report/ | HTML report>"
       }
    }
}