Where to start?
Start by going through Figma's Help Centre - they’ve created an incredible library of easy to follow tutorials which concisely cover all of Figma’s functionalities. For advanced use, check their Best Practices library.
To stay up-to-date, follow them on YouTube for video tutorials and check their What's New for the latest updates.
Versioning
Figma autosaves all your work and creates versions on its own, but it’s not so easy to navigate through auto-generated versions. Make sure you save versions on your own after finishing a specific task or a chunk of work. Versioning in Figma is as easy as it gets; just click File → Save to version history and name it in a way that makes sense and it’s easy to find.
Ownership
Figma supports permissions at a team, project, and file level, which means we have to make sure all our files exist inside Infinum’s workspace, so nothing gets lost in the shuffle.
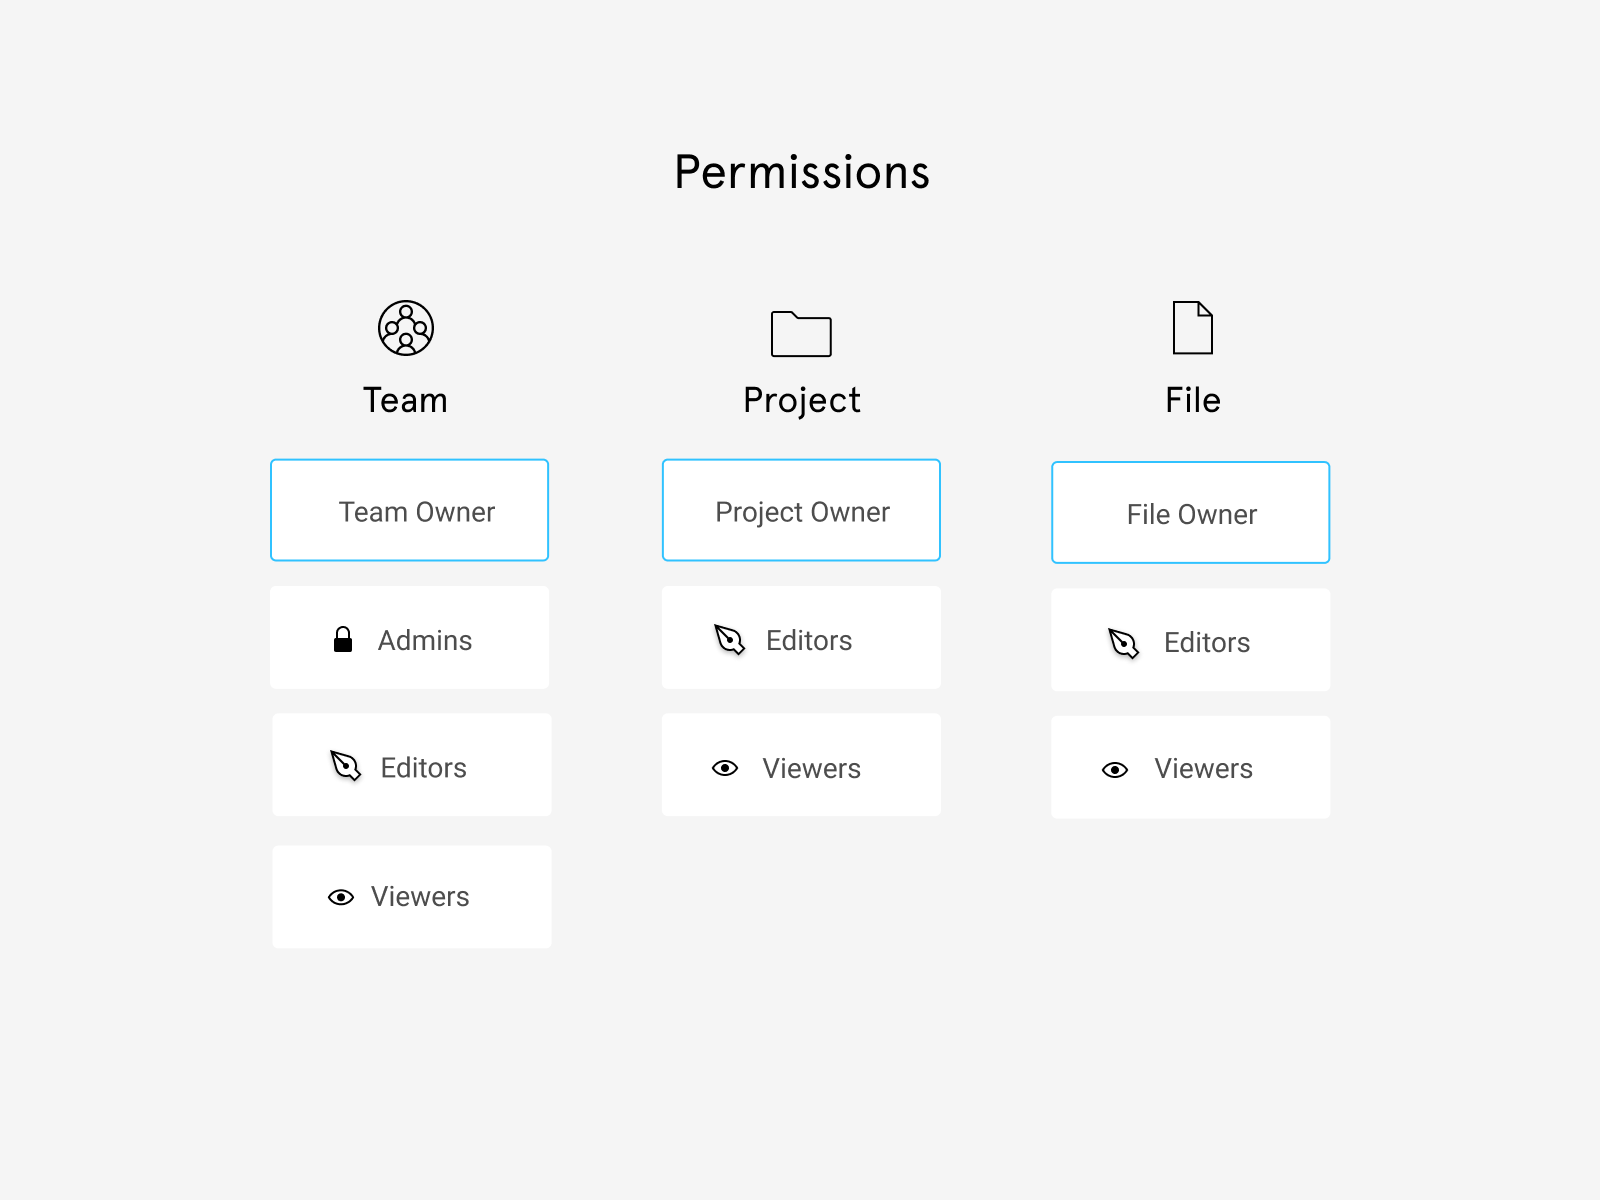
When you create a new project (and file inside the project), the file ownership is automatically assigned to you. You'll need to the following for the project and each individual file:
- Click Share
- Invite Infinum to the project (or file)
- After it appears on the list, click the dropdown next to its name and select Owner
- A dialog will pop up, click Transfer ownership
- Repeat this for every file you created.
More on permissions can in Figma's documentation.
Privacy
If you’re working on a project where the client does not want anyone from outside of the project team to see the files, select the Share option and restrict access to the team members (Remove team access option). It is still important that the project is owned by the Infinum account. If the file is in a project that's shared with everyone on the team, then you cannot restrict access to an individual file in that project. More in Figma's Help Centre.
Recommended plugins
01. Building design from scratch
- Autoflow - draw flows by selecting 2 objects and a line will be magically drawn between them
- Wireframe - browse through the many wireframing kits this plugin offers, and make wireframing easy-peasy
- Content Reel - create library content (names, addresses, photos...) and apply them to layers
- Unsplash - gives your placeholders a splash of color — wether it's giving personality to grey avatars, or a realistic photo grid
- Feather Icons - an icon library with some basic icons
- Contrast - makes it easy to check the contrast ratios of colors as you work
- Stark - contrast checker and colorblindness simulator
- Typeout - provides rich, relevant and quirky library of UX copies to make your designs more conversational and meaningful
- Lazy Load - lets you generate skeleton loading screens in one click. Now you can save enough time while designing loading screens for developer handoff
- Blush - Create and customize illustrations in your designs
02. User interface design magic
- Remove BG - remove the background of images automatically with a single click
- Mesh Gradient - generates a gradient image with an underlying 2d mesh, and lets you edit the vertices and edges of the mesh
- To Path - if you want a text or shape to follow a curved path
- Chart - uses real or random data to create the most popular charts
- Dark Mode Magic - plugin automatically generates colors for Dark mode from a light palette and applys them to elements
- Isometric - allows you to create isometric layers without manually having to set them up
03. File organisation
- Find and Replace - earch for texts on your page and replace them just like a text editor.
- Instance Finder - find all Instances of a Component used in your file
- Design Lint - finds missing styles within your designs on all your layers
- Stark - contrast checker and colorblindness simulator
- Rename it - keep your Figma files organized, batch rename layers and frames
- Sorter - organize layers by name, position (top to bottom, left to right, etc.), reverse them or get back to square one by randomizing the order
- Style Organiser - display and organise colour & text styles
- Master - create, attach, clone and move components in a couple of clicks without losing overrides
- Batch Styler - change values of multiple (text and color) styles at once