Choosing between Zeplin and Figma is a lot like playing the loves-me-loves-me-not children’s game.
You have to decide between two awesome and useful handoff tools. How could you possibly pick just one?
The first steps when making the decision are comparing features, discussing, and compromising both on the design and the development team side.
Why we chose Figma over Zeplin
The choice of the tool depends on a mix of own and client’s wishes and preferences. A Venn diagram might be helpful in this situation.
Based on experience from our agency during the past year, the team preferred to work in Figma.
The two main reasons are:
- the export is way easier
- communication with the project team or client doesn’t take as long.
We discussed making the switch A LOT – it’s a big step! Finally, we did it.
Our designers were happy
The developers? Not so much.
To prepare our colleagues from development for the workflow migration and make the transition smoother, we decided to prepare a series of simple short tutorials and how-tos on switching from Zeplin to Figma.
Hey, maybe we can’t change the way Figma works, but we can sure come up with solutions beneficial for both sides.
Making the switch from Zeplin to Figma in 5 steps
So, you bought your tickets to the train of migration and you are ready.
We know, migration to another tool is hard and demanding. You’ve got to learn all this new interface and new tools.
The learning path is sometimes curvy, but we tried to show this in 5 easy steps so you could get the best of this new tool and get adjusted to it in no time.
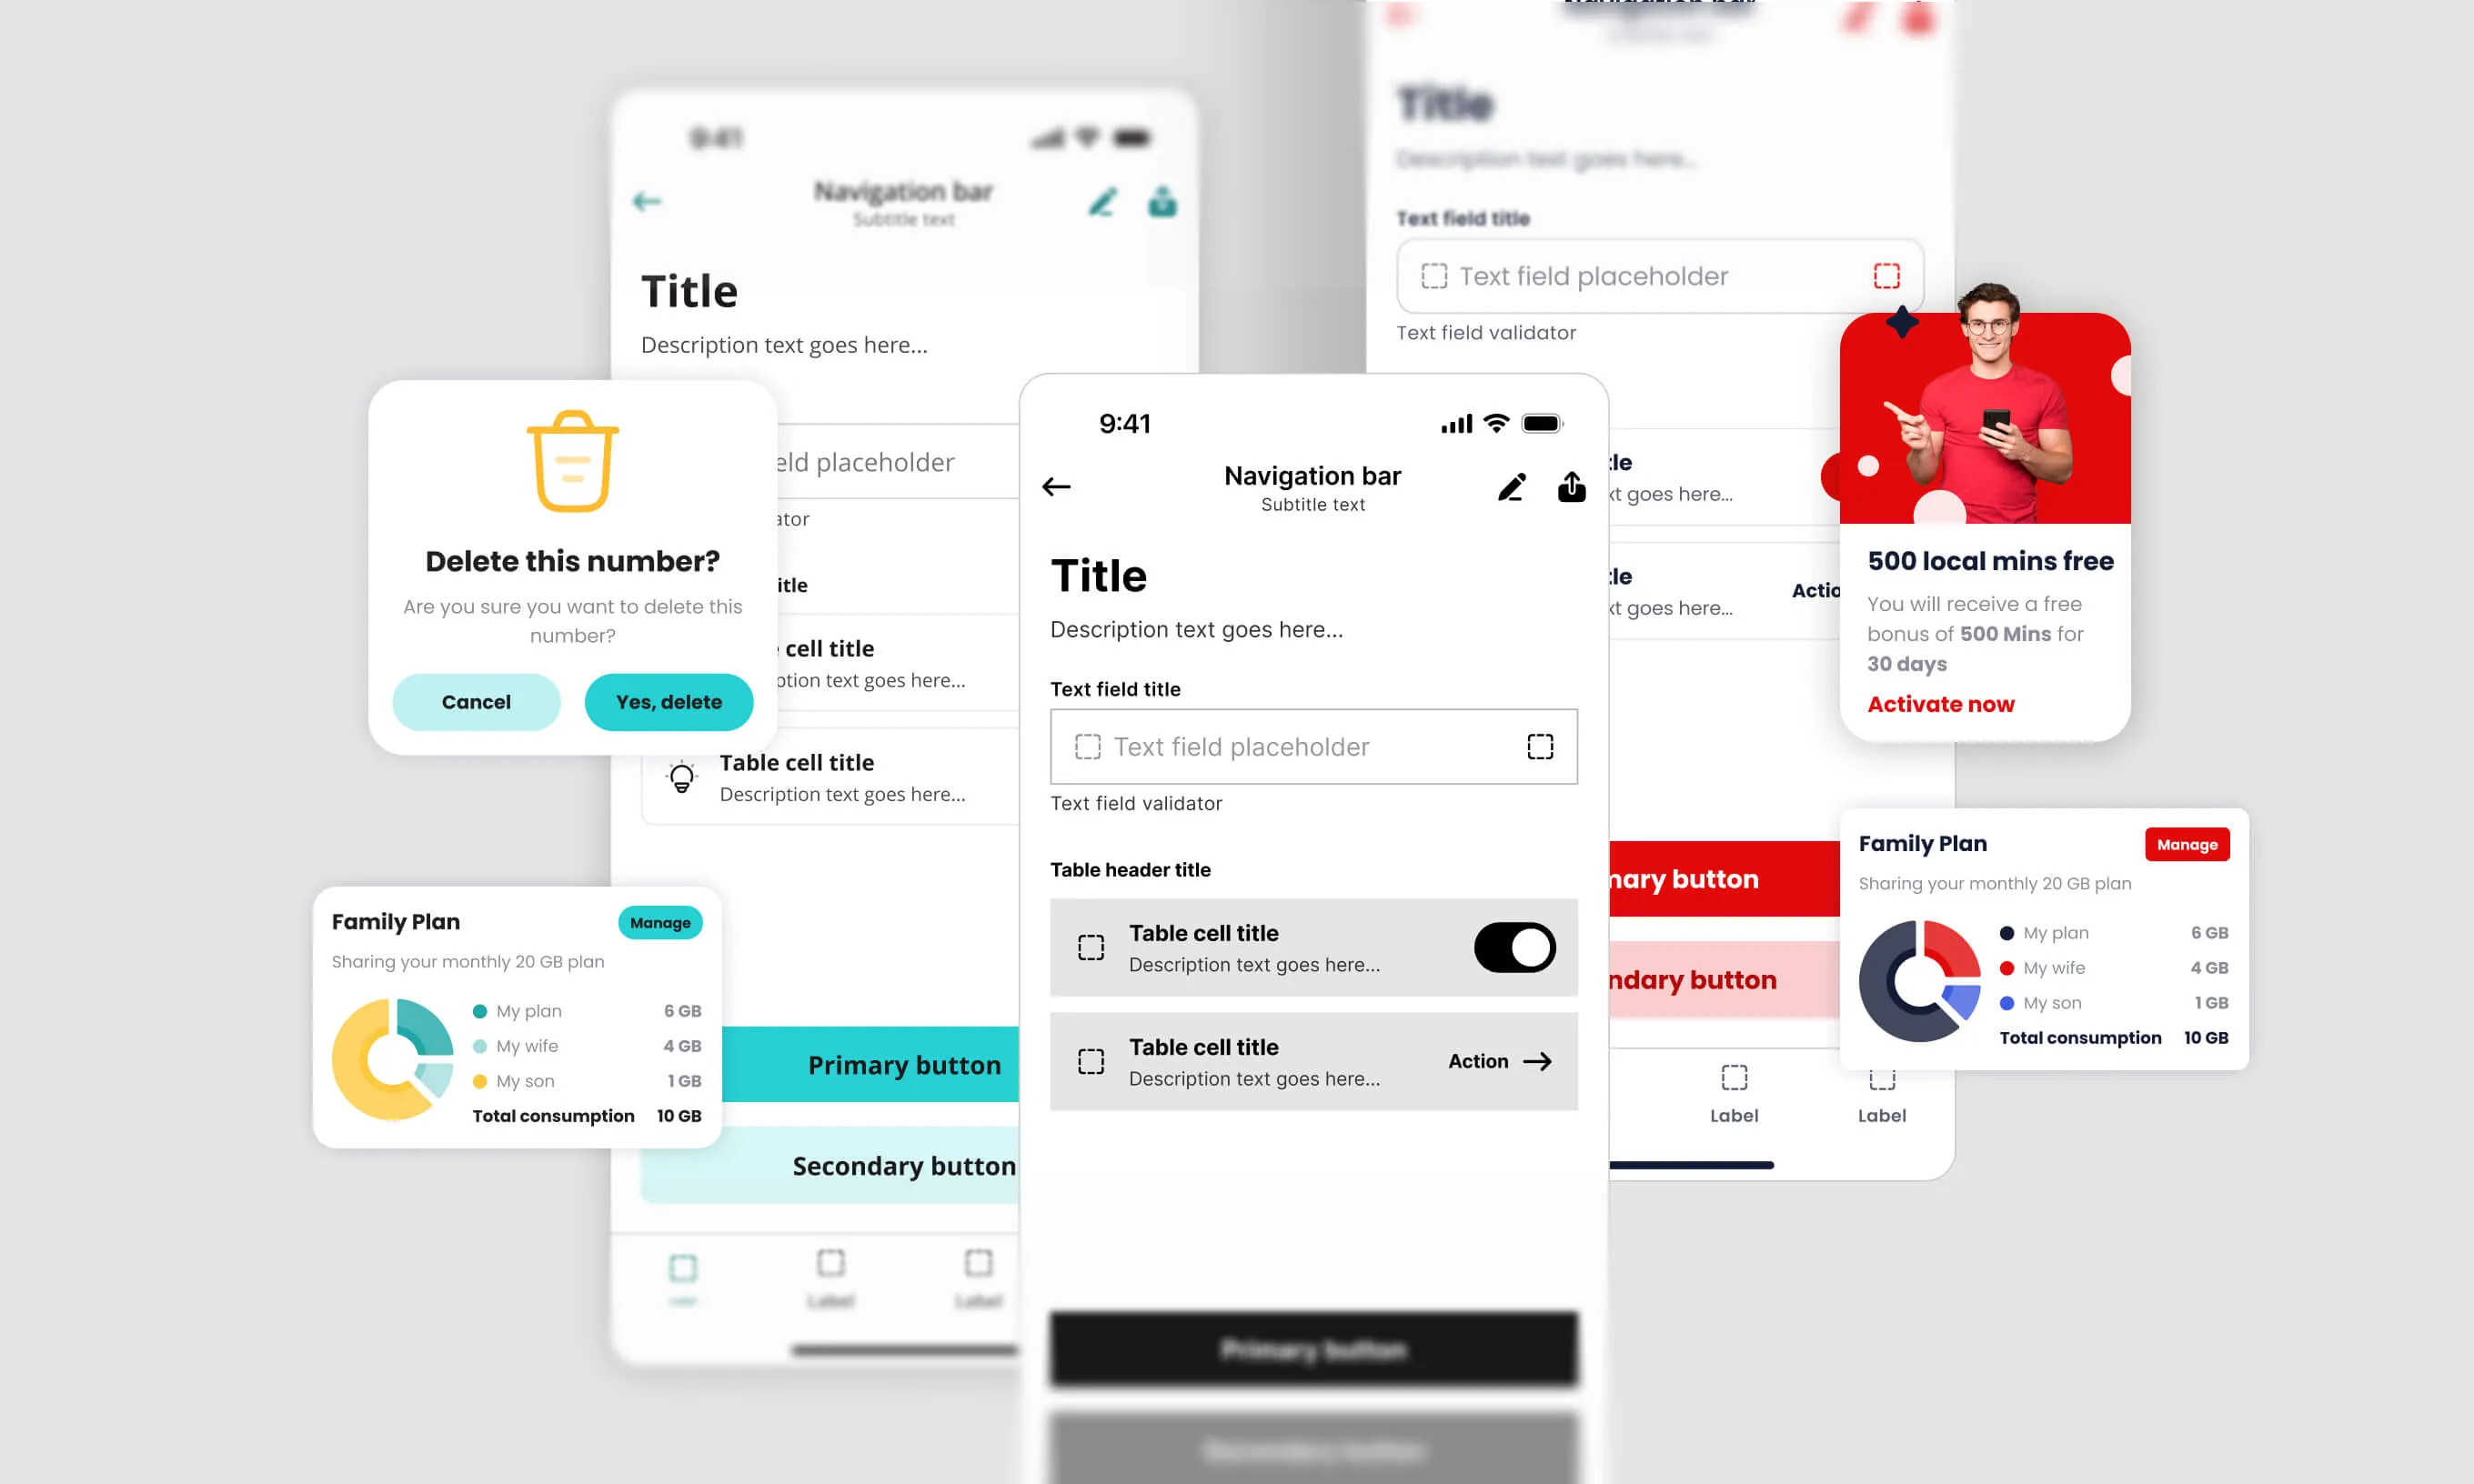
1. Figma – everything in one place
Figma is a tool intended for team collaboration in real-time. So this means everyone is involved in the project from the beginning.
Designers have their preview and workspace, developers and other view-only users (eg. clients) have their own. There is even a presentation mode if there is a need for a prototype.
So, it’s all in one place, everything is connected and not separated into two or more tools. Also, view-only users can easily access to master components and see the style guide you created there. There is no need for additional style guide export.

2. Flow preview and communication in Figma
Designers can sort all of the screens by the pages and in order by the flow. There is an easy flow presentation and no need for additional filtering.
With Figma, developers can be involved with the project from the beginning, give feedback, and ask important questions directly from the start. This way, everyone is connected with the design from the beginning of the project.
Plus, they can share a file with colleagues if they need help with anything. Viewers don’t require a billing account and can be added for free.

3. Code switching in Figma
Code panel offers an easy way to extract code information from a specific page element.
The code will be displayed by clicking on a layer. Easy switching between CSS, iOS Swift Code, or Android Code. It may not always be the best or the optimal, but it is a great starting point for you to check out.

The panel supports two formatting styles for all three syntaxes: Table and Code. You can toggle them from a tab selector.

While the Code Panel is selected, Figma draws visual guides around the selected element for spacing and sizes, highlighting its spatial relations with the surrounding elements.

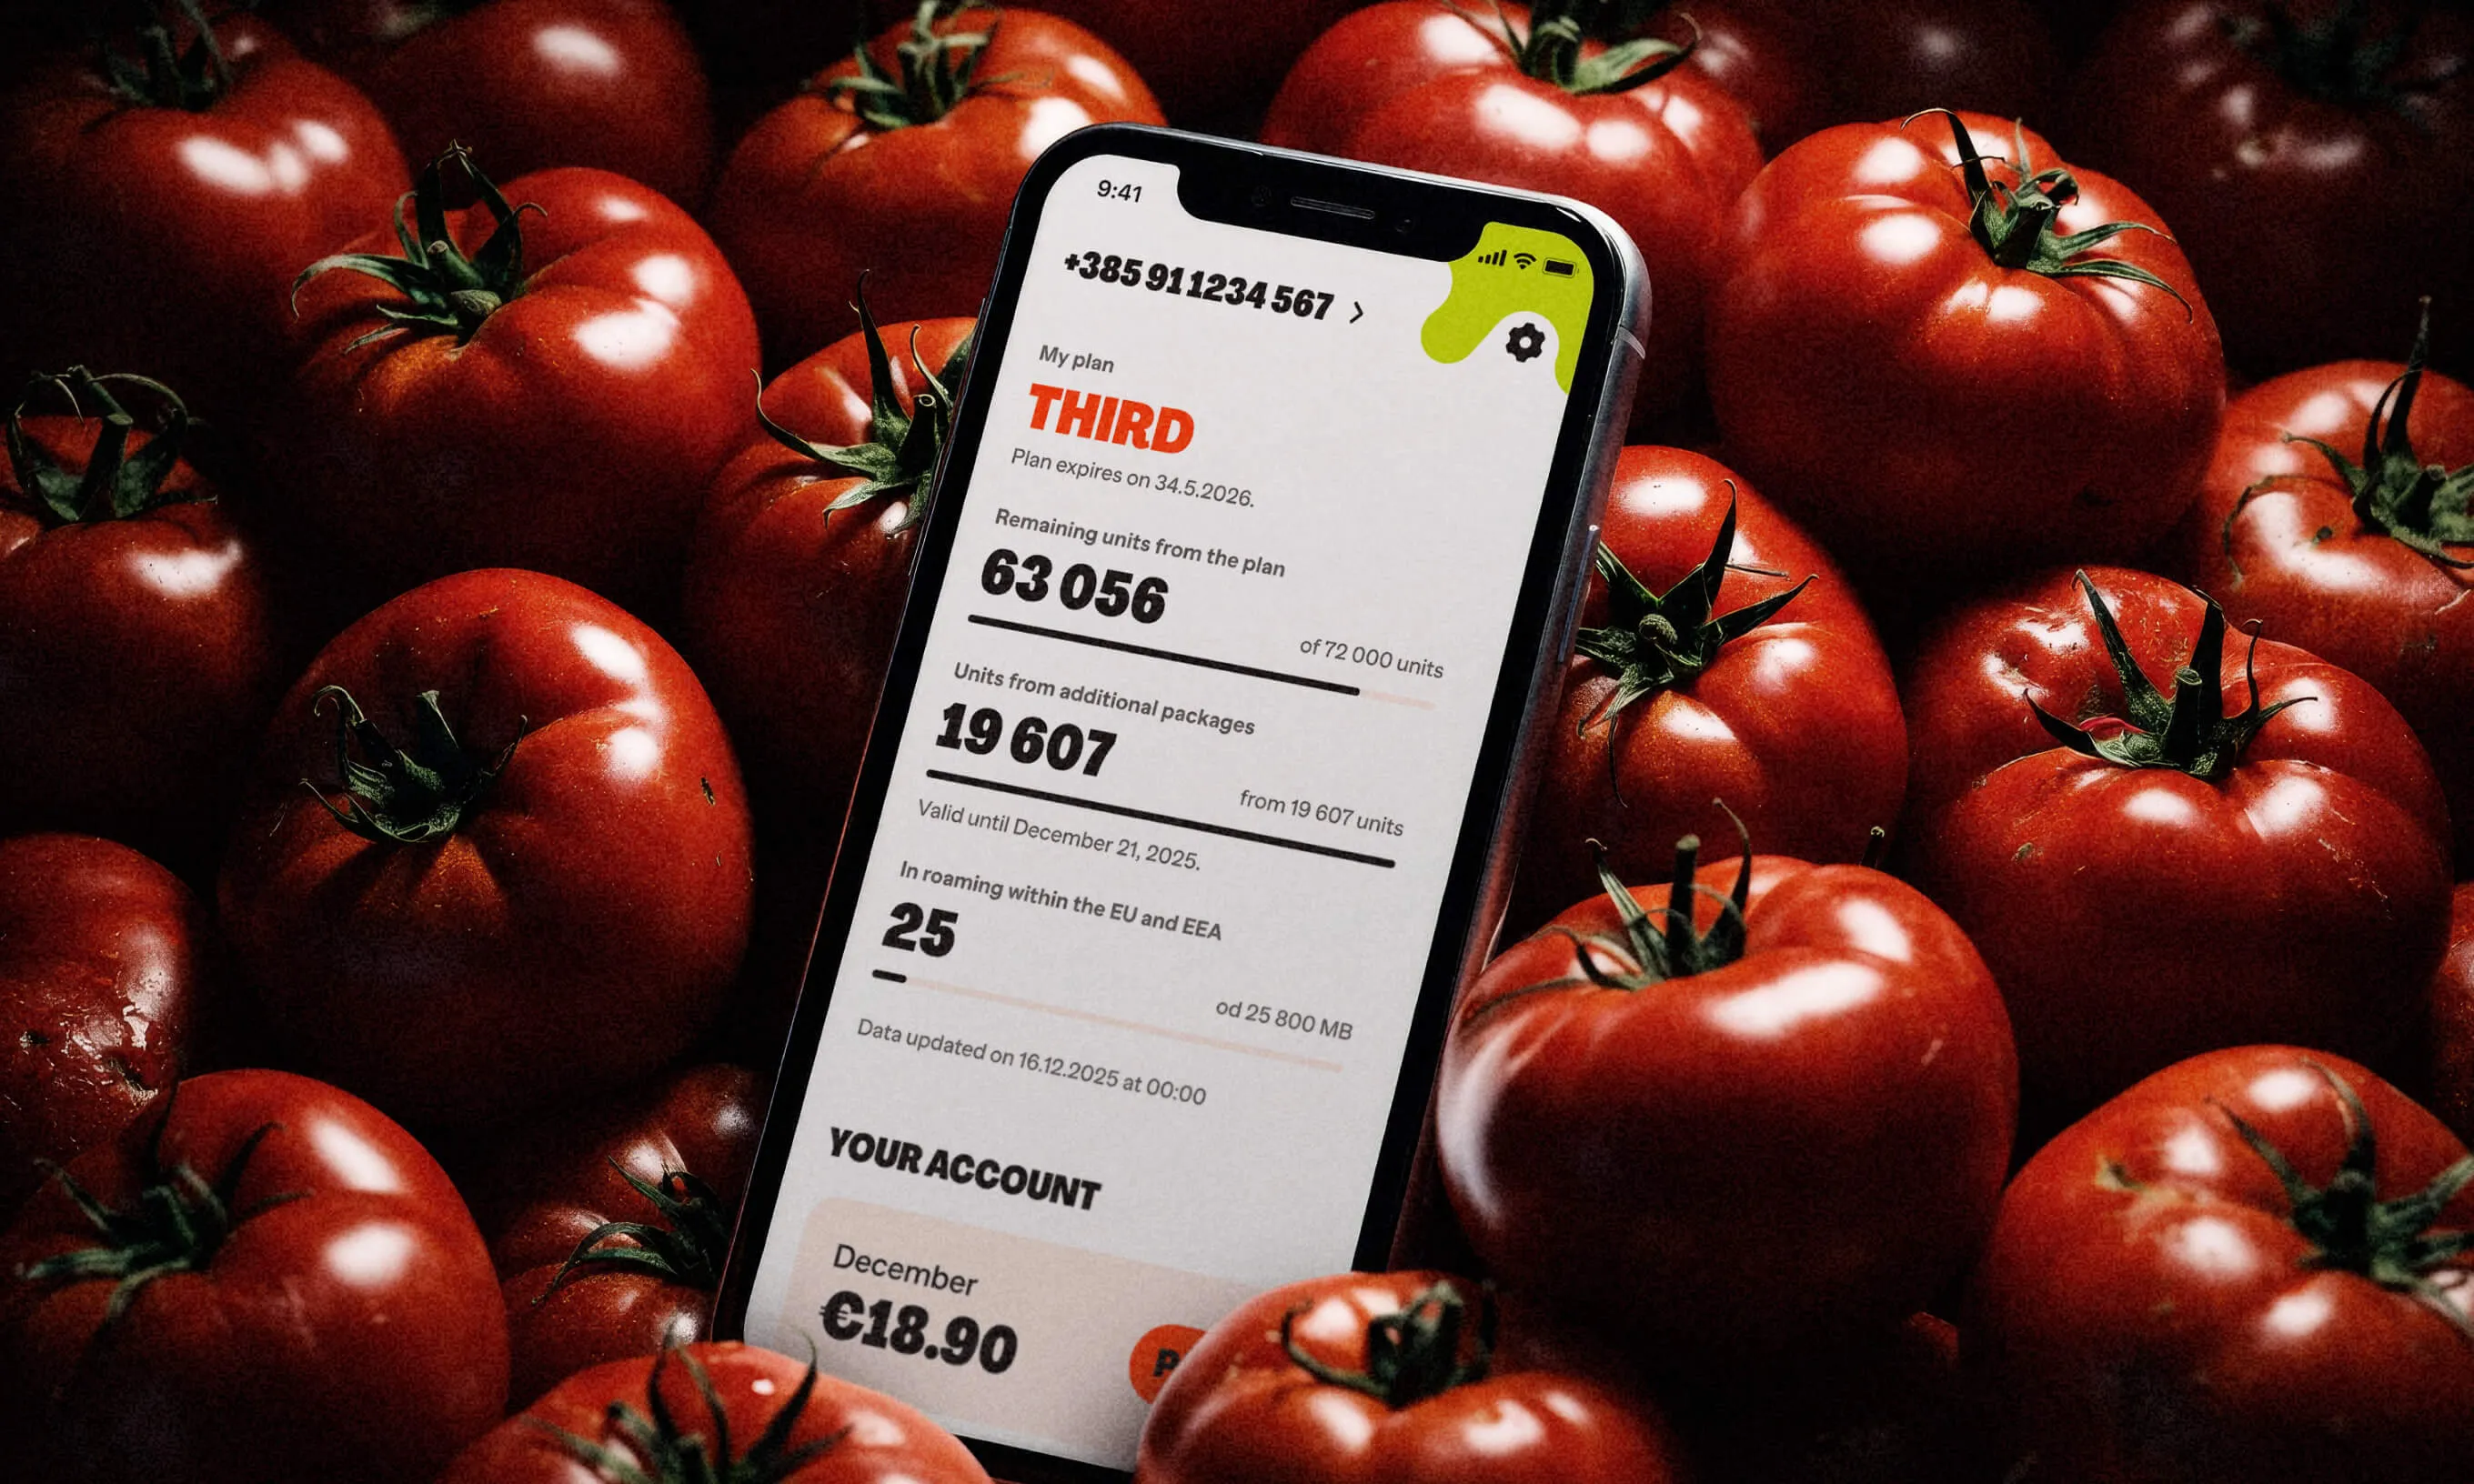
4. Exporting assets in Figma
Choosing the export format for objects (PNG, JPG, PDF, SVG) is easy peasy.
Resources can be exported globally or locally, depending on your needs. If you’re looking to export all the assets that were marked as exportable on a file or frame, the Export Panel (Ctrl/Cmd + Shift +E) is the way to go.

It’s also possible to copy an item on the clipboard as CSS, SVG, or PNG by selecting ‘Copy as’ after right-clicking on a layer.

5. Layer selecting in Figma
You can select or switch between layers on the left part of the screen.
This helps, for example, if you accidentally select the child layer instead of the parent layer.
Also, when you select the Text Layer, you can copy the selected text by using keyboard shortcuts or by selecting ‘Copy as’ after right-click.

What are developers’ thoughts?
- Nikola Šimunko, iOS developer
The advantage I noticed right away is that you can see multiple screens at once in the Figma which helps to visualize the implementation of the flow when you group the screens as a whole. In this way, it seems to me that exporting in Figma is more advanced than in Zeplin, which is always a good thing, but I have actually exported very little to give you an objective opinion. One negative side of Figma, as far as I heard from another iOS developer is that his Figma was quite slow, but that was not my experience. - Josip Krnjić, Android developer
The pro with Zeplin was that if you mark everything under assets then you can export everything at once. While in the Figma you have to export 1 by 1. It has happened many times that a designer forgets to put something in Zeplin assets and then I can’t export it, while in Figma I can always do it alone. But Figma is my absolute winner. It loads faster, it can load 50 screens into less memory at a time, while Zeplin takes 10 seconds for one screen to open.
Is changing your workflow worth it?
Getting used to any tool can be frustrating – it’s a learning curve. But if it saves time and money for the whole agency, changing your workflow may be worth it.
If you’re team Zeplin, we hope these short tips and tricks can help you see a bigger picture of this tool and its features, and maybe give it a shot.
The dissatisfied developers from the beginning of this story grew to love it.