If you have ever participated in a digital product development process, there is a likely chance you came across the concept of prototypes. If you are a designer, you probably already understand that prototyping is an essential skill.
Whatever the case may be, understanding different ways of creating a prototype is key to ensuring that you meet project goals at various stages – during research, while creating your first drafts, or during implementation.
Let’s start by getting the definition out of the way.
A prototype is an interactive representation of a product that shows how it will work.
In layperson’s terms, with interactive prototyping, you get to see the static design come alive before any development happens.
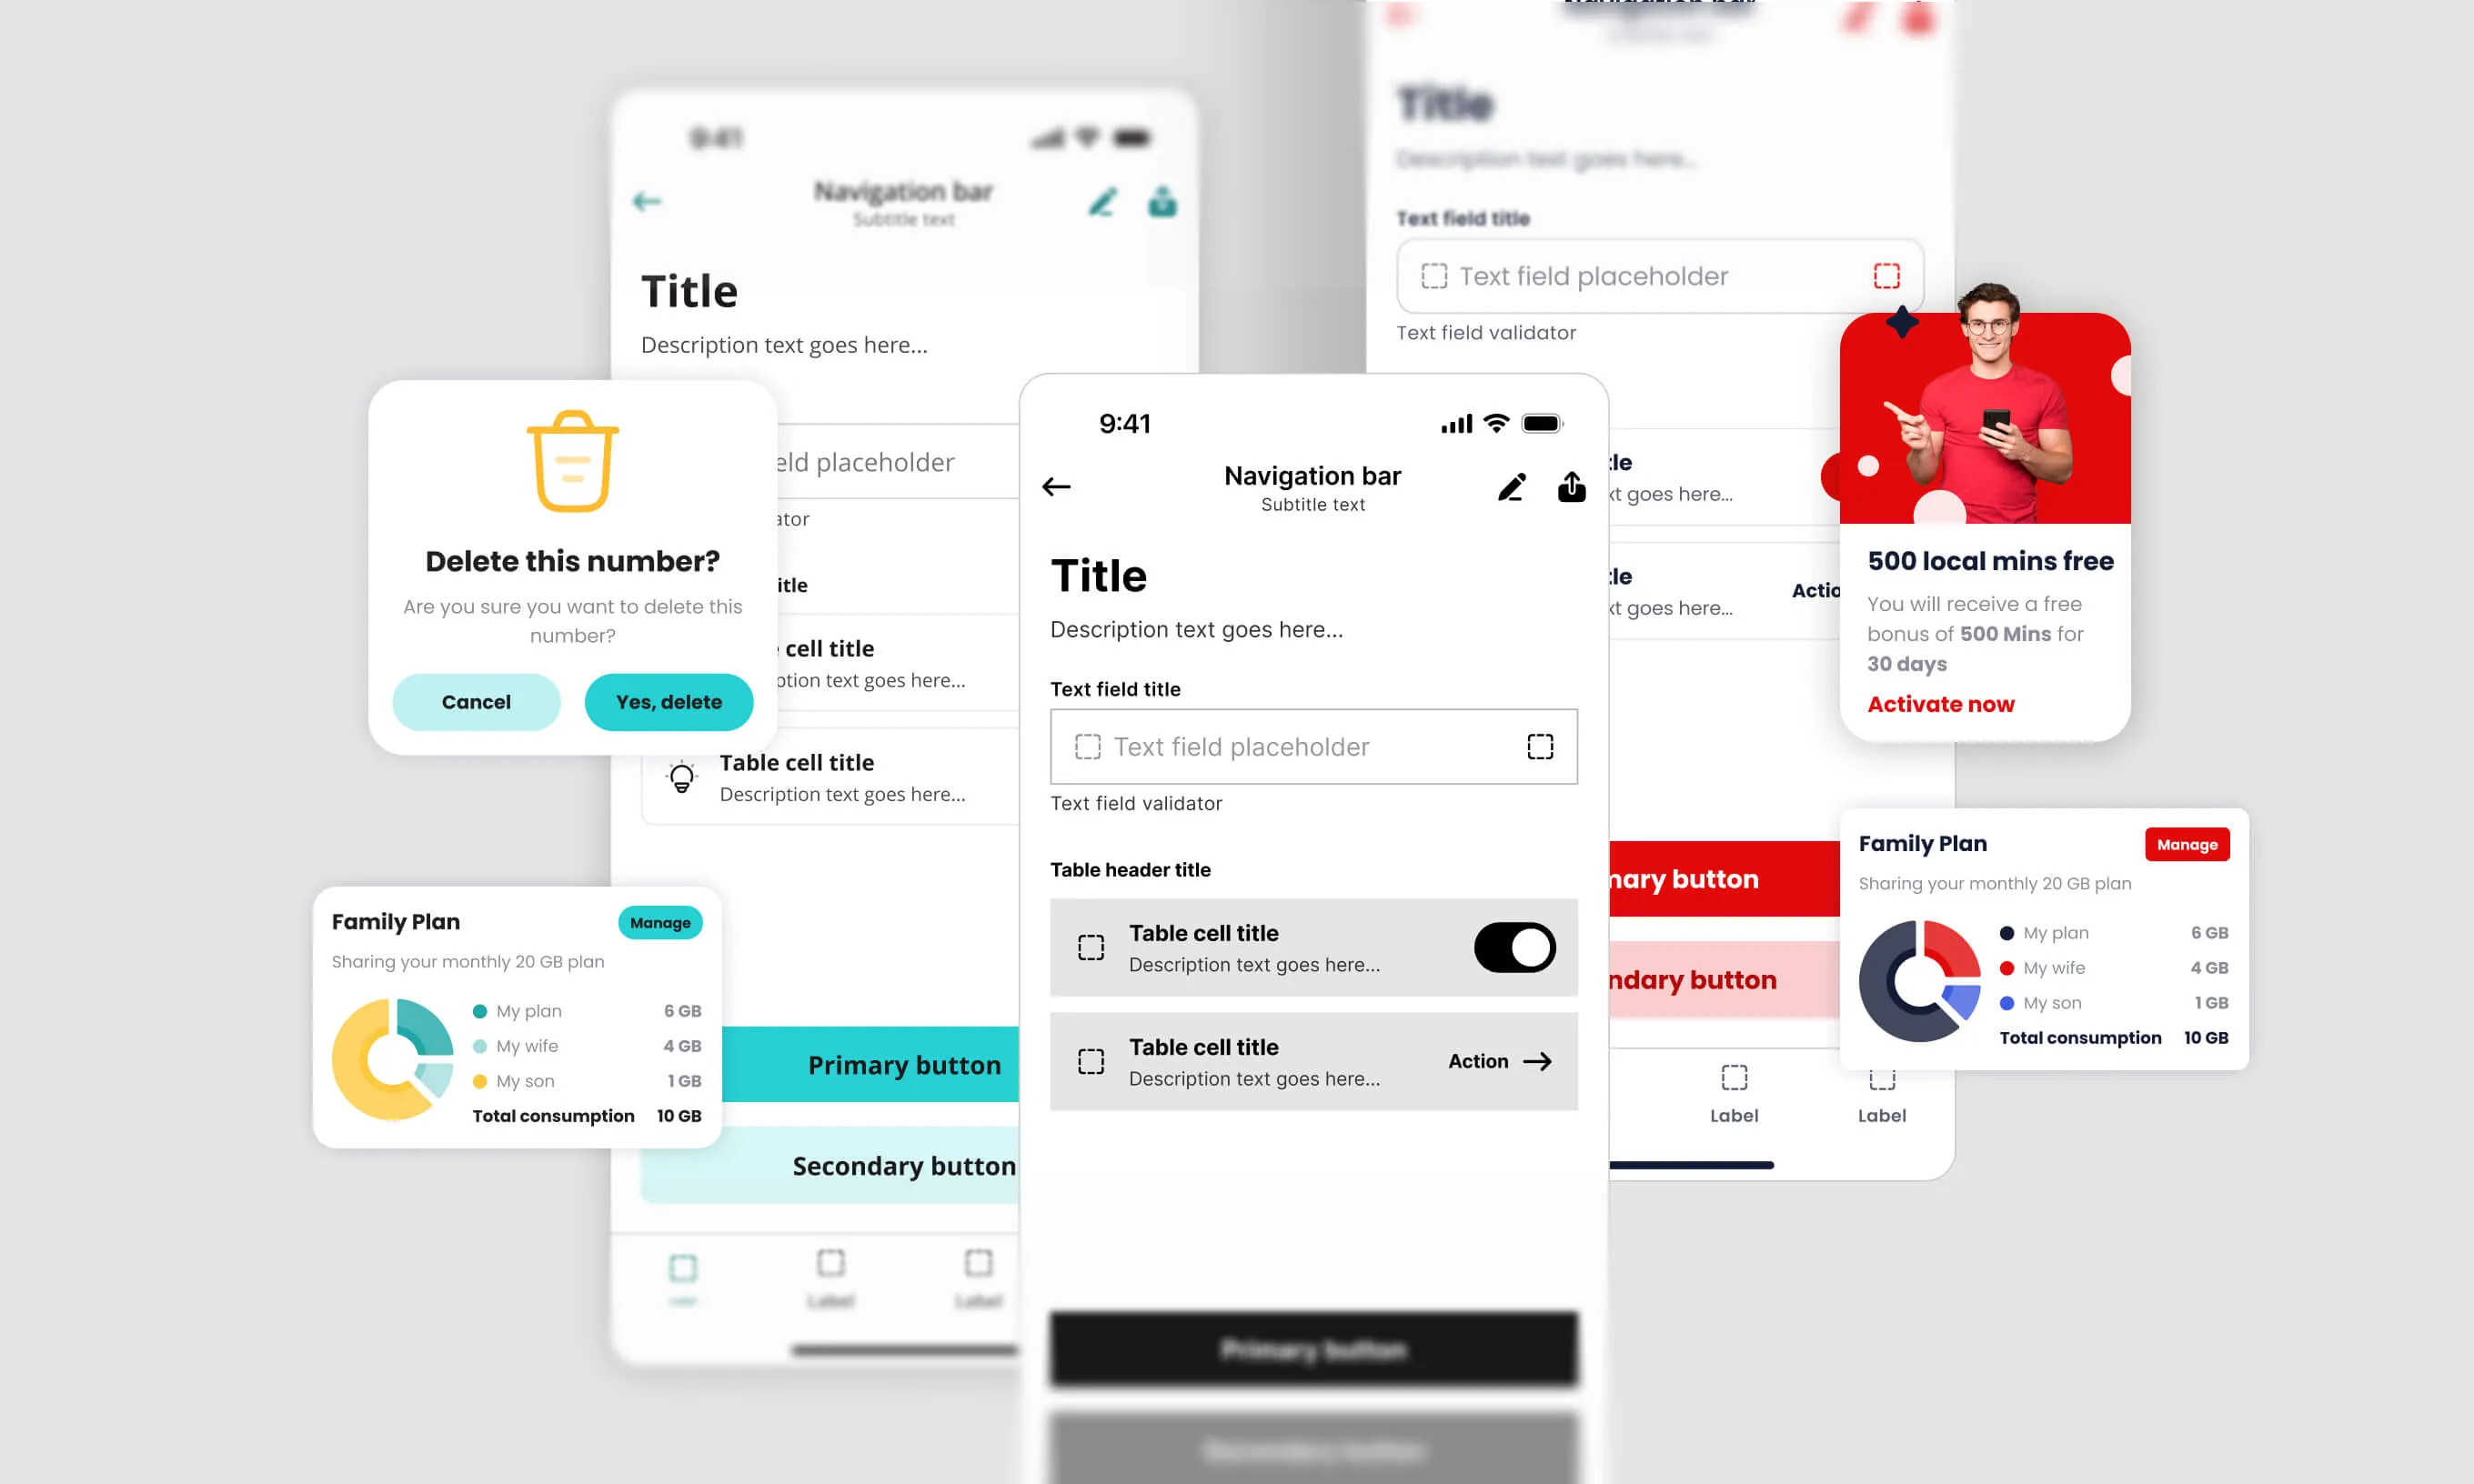
Nowadays, the most popular tool for creating prototypes is Figma (2022 Design Tools Survey, 2022), and it offers plenty of prototyping possibilities. We can make simple sketches and low-fidelity mockups but also create interactive prototypes that feel like the real thing.
This blog post will explore different approaches to building prototypes as well as their benefits and drawbacks. Understanding these, readers can assess which approach best suits their project needs.
Basic interactive prototyping: Low-fidelity prototypes
Prototyping allows us to turn ideas into tangible models that can be tested and refined before creating the final product.
By putting ourselves into the users’ shoes and clicking through the prototype, we can spot user experience issues from the get-go.
For this purpose, your prototype doesn’t need bells and whistles; wireframes linked together to recreate a user flow will do just fine.
You can link the pages (or screens for mobile apps) directly or take it a step further and link the basic interactive elements such as buttons or navigational items as well. At this stage, interactions should only be used to switch from one state to another. Don’t get too hung up on micro-interactions and transitions; those will come into play once the product’s main structure is defined.

Additionally, you could use low-fidelity prototypes to demonstrate your app or website’s information hierarchy and navigation. The prototype’s interactivity will allow you to catch any missing pages or dead ends early on and sanity-check your product’s flow. This saves your clients both time and money as all the detective work happens before their product reaches the market.
Gathering feedback: High-fidelity prototypes
Prototypes allow you to gain valuable feedback from users, stakeholders, and other team members.
The most significant benefit of prototyping is that you get a glimpse of how others feel while interacting with your product.
However, before sharing a prototype with others, make sure they understand it is “just a prototype” and not a fully working product. Many people need clarification when using prototypes for the first time as they expect it to be fully interactive, clickable, or responsive. This learning curve is somewhat of a drawback, as people need to understand that prototypes are not the same as the actual product but a mere set of images linked together.
You can work around this issue by creating a high-fidelity prototype. Disclaimer: this type of prototype requires more work and a lot more fiddling around with transitions and animation types that Figma offers. Also, be prepared for your Figma canvas to look like someone lost their tangled knitting supplies in there.

Steps to creating an interactive prototype in Figma
And now for the tricky part – going from static to fully interactive. High-fidelity prototypes take a lot more juggling, but seeing your designs come to life is always worth the effort.
1
Link everything up
When we say everything, we mean everything. Screens, dialogs, buttons, the whole enchilada. You will need to link items together to create all the possible paths your users might take so that they don’t get stuck in a flow with no way of getting back. You then share the prototype with someone who is not familiar with the product you’re designing, if at all possible. This way, you won’t get skewed answers from people who already have expectations about the product.
2
Utilize micro-interactions to make it realistic
The magic that is going to bring your designs to life is micro-interactions. To add them, utilize Figma’s interactive components feature. Create and link all the component states, for example, the default, hover, and pressed states of a button. By using micro-interactions, you are recreating how the elements on the screen would behave in a real-life environment, which makes your prototype credible and more realistic.

3
Use transitions to present hierarchy
In the next step, familiarize yourself with the different transitions Figma offers and use them accordingly. Smart animate is your friend when transitioning between different states of the same screen, but remember that you need a very organized Figma file for it to work correctly.
When transitioning between different pages or screens, use move animations to mimic moving back and forth in space. This will give the users a better insight into the hierarchy of your product.
Additionally, to polish your prototype thoroughly, include loading animations using GIFs or videos (or create custom loaders if you want to go the extra mile) and trigger the interaction using after-delay animation.
4
Include instructions when sharing the prototype
When your prototype is complete, you’ll want to share it with others to see. This can be the project team, the client, users, or whoever you need feedback from.
To ensure everyone understands how to use the prototype, you should include an introduction that explains how it works. Feel free to share our prototype instructions or create your own. That way, you’re making sure the feedback you’re getting is spot on.
Prototyping benefits for developers
When sharing the prototype, it is a good idea to include the developers working on the project. Be bold about it; it may surprise you how helpful these sessions are for everyone included. You get valuable feedback on the features you designed or reveal some plot holes, and the developers gain a better understanding of the ideas and interactions you had in mind. In addition, developers can use your prototype as a reference point for comparison once they start the development process.
On a final node
Prototyping is a crucial skill to acquire as a designer. It can save time and money by identifying and addressing design issues early on and help designers create better products that align with user needs and expectations.
Prototypes are also an excellent feedback-gathering tool. You can iterate your designs based on the comments you get and repeat the process until everyone is satisfied.
I’d recommend getting accustomed to prototyping as early as possible and doing it as often as your project setup allows. It’s simple – floss daily, and you’ll have healthy teeth; prototype as often as possible, and you’ll have a good product.