
Wondering how to make your Android app smaller, lighter, more flexible, and more cutting-edge? App Bundles are the answer.
What are App Bundles?
App Bundles are the new packaging & publishing format for Android, made to offer a more efficient way of building and releasing apps.
They’re here to replace universal APKs which are big monolithic packages that include a whole lot of things that are either not needed for the given device (e.g. hardware architecture support) or are never used (e.g. multiple languages).

It’s what’s inside that counts
A single App Bundle consists of several key files and directories. The base directory, together with a variable number of feature directories, encapsulates classes, resources, and everything else required for a certain module.
Unlike APKs, Bundles also divide the Manifests and dex files per module. There are a bunch of other files laying around, like BUNDLE-METADATA and Module Protocol Buffer (.pb) files, but they’re mostly used by Google Play and shouldn’t bother you too much.
This new approach allows for several key benefits:
- Smaller and more efficient app
- Dynamic feature modules
- Google Play Instant
We’re not going to be going into details on the last two, but feel free to find out more about instant-enabled App Bundles or Dynamic feature modules.
You got served
Dynamic Delivery is the new Google Play app serving model, powered by none other than App Bundles. Its main goal is to generate and provide an optimized APK for each device configuration.
If you’re already following the best practices regarding code and project structure, supporting dynamic delivery is as simple as building and uploading an App Bundle to Google Play.
Splitting APKs
APK splitting isn’t anything new, in fact, it has been a thing since Android 5.0 Lollipop. A split APK is similar to an ordinary APK, containing its own manifest, DEX bytecode, and resources.
This is how the App Bundle manages to lighten your app. Starting out, it finds every piece of code that can be shared by all devices & app configurations. These include the manifest, DEX files, and everything that does not depend on the device screen, architecture, or locale.
All this is then merged to a single base APK which is served to all users, with other split APKs, called configuration APKs, providing different configurations when possible.
An APK can be split by 3 different factors:
- Native device architecture
- Screen density
- Locale
By installing your app onto a device, Google Play analyzes its configuration and serves the base APK, plus additional split APKs as necessary. The result is a far more efficiently packaged app than a universal monolithic APK.
But what happens if the user has an Android version older than Lollipop? Since these versions don’t support APK splitting, the user will get a single APK, but once again with the unneeded resources removed.
One thing to note: these APKs will not be optimized by locale, as this would result in too many individual APKs to generate.
How it’s made
Replacing your APKs with App Bundles is a relatively simple process, with almost no changes to your project structure or code. The only prerequisite is that you opt in for app signing by Google Play.
Sign here please by Google Play
With app signing by Google Play, Google manages and protects your app’s signing key for you. As App Bundles defer building and signing APKs to the Play Store, you need to opt in to app signing by Google Play before you upload your Bundle.
Since setting this up could be a blog post of its own, you can follow the instructions on this link.
Bundling it together
Now that we’ve got the theory covered, it’s time to roll up those sleeves. The setup is rather simple and can be described in just two steps:
1. Define split options (optional)
As stated in the previous section, an APK can be split by 3 factors (Native architecture, screen density, and locale). By default, all of these factors are enabled. If you wish to modify these options, you’ll have to go into your build.gradle and add the following code inside the android block:
<span data-es-language="groovy"></span> {
   bundle {
       language {
           enableSplit = false
       }
       density {
           enableSplit = true
       }
       abi {
           enableSplit = true
       }
   }
}
Setting one of these fields to false means that all the resources from this category will end up in all APKs. For example, if you have 3 languages in your app, and set the language split to false, every instance of your app will contain all 3 languages, disregarding the device locale.
However, what should happen if you enable language splitting, the user downloads only one language and then changes the device language? Well, whenever the user changes their device configuration, Google Play detects that and automagically attempts to download new configuration APKs for all installed apps.
If the device isn’t connected to the Internet at the time, the whole process will be postponed until a connection is established.
2. Build the Bundle
To build an App Bundle instead of an APK, you can either use the Android Studio GUI or your own CLI. When starting the build from Android Studio, you’ll go at it the same way you would with APKs. That means going to the build menu and selecting Generate signed Bundle / APK and selecting the Bundle option.
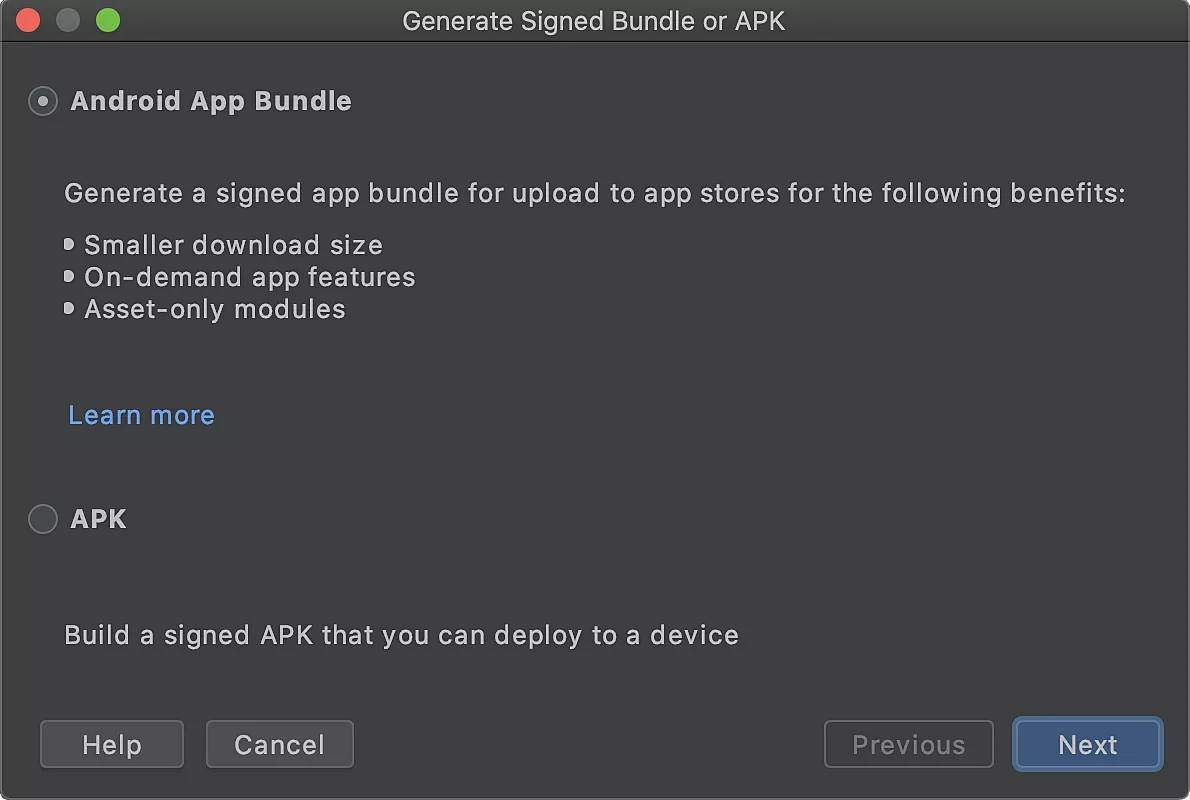
This dialog is followed by the all too familiar keystore selection/creation dialog, and finally the build variant picker.
Building a Bundle through the CLI is again similar to building an APK, with the only difference being that the keyword is no longer assemble, but bundle, optionally followed by a build variant.
./gradlew modulename:bundle
./gradlew modulename:bundleVariant
Testing, testing, 1, 2
Well, you’ve managed to build an App Bundle. What now? Knowing better than to test in production, let’s test it out locally first, followed by a test on a closed track on Google Play.
One simple way of doing this is to edit your run/debug configuration to deploy the app on your test device by first assembling an App Bundle, and then extracting the APK for the device at hand. All you need to do is choose APK from app bundle in the Deploy dropdown and you’re good to go.

Another thing you can do locally is to try and manually extract APKs from a built App Bundle. To do this, you’re going to have to install the bundletool, a CLI tool that is used by Gradle, Android Studio, and Google Play to convert an app bundle to all the various APKs available. For more info about it and how to use it, have a look here.
Lastly, you should do a test deployment on one of the closed tracks on the Play Store. Once you set up the App signing by Google Play, you can just drag and drop your App Bundle as you would your regular APK.
A new feature here is the App Bundle Explorer, a Play Store tool for examining the uploaded Bundle and seeing the app size savings, as well as the app download size for each configuration.

Limitations
There are some limitations to the whole App Bundles story. The entire compressed APK (base + configurations) is limited to a download size of 150MB. This is also valid for all other dynamic modules and their configurations.
Additionally, App Bundles don’t support APK expansion (.obb) files. If you end up with this error, try enabling all configurations, minify your app and consider moving some features to dynamic modules.
Sideloaded apps
As with all things, Bundles aren’t perfect. One issue you might run into is users installing your app through channels other than Google Play Store (e.g. APKMirror), called sideloading. The problem here is that sideloaded APKs might not match the configuration of the user’s phone, resulting in apps crashing left and right.
Since version 1.6.0, the Play Core library has been able to detect incorrect app installs. Implementing it is a simple matter of plug-and-play. Add the dependency to your build.gradle:
implementation “com.google.android.play:core:$play_core_version”
And add a check to the onCreate method inside your Application class:
override fun onCreate() {
    if (MissingSplitsManagerFactory.create(this).disableAppIfMissingRequiredSplits()) {
        return
    }
    super.onCreate()
}
That’s it! A dialog will present itself when your app is launched, asking the user to reinstall the app through Google Play Store.
Tips & tricks
Finally, some things we noticed when migrating our apps to App Bundles and would like to share with the world:
- If your local build seems too fast, it probably is. Sync your project and try again.
- Missing resources can happen, but they’re almost exclusive to sideloaded APKs.
- Don’t forget to test on an internal track on Google Play.
- Even though switching to App Bundles is mostly painless, don’t take anything for granted. Common sense is your friend here.
Happier users in a couple of clicks
I hope this article helped you better understand how Android App Bundles work and why they’re becoming so popular. Migrating your app to use App Bundles can take you only a couple of clicks, resulting in happier users who have to use less data to download and store your app.
Also, Google announced that supporting App Bundles will be mandatory for all new apps, starting sometime in 2021., making this the perfect time to make the switch!
Finally, check out the sample App Bundle project on Github for more info.