It’s 2020, the weirdest year yet. With growing privacy concerns, users are becoming more wary of apps that don’t provide some sort of authentication feature for accessing their private data.
At this point, there are many domains in which the authentication feature has become a must-have.
To name a few:
- mobile banking/fintech apps, such as Revolut or N26
- apps that handle online payment, like e-commerces and food delivery apps
- note-taking and productivity apps
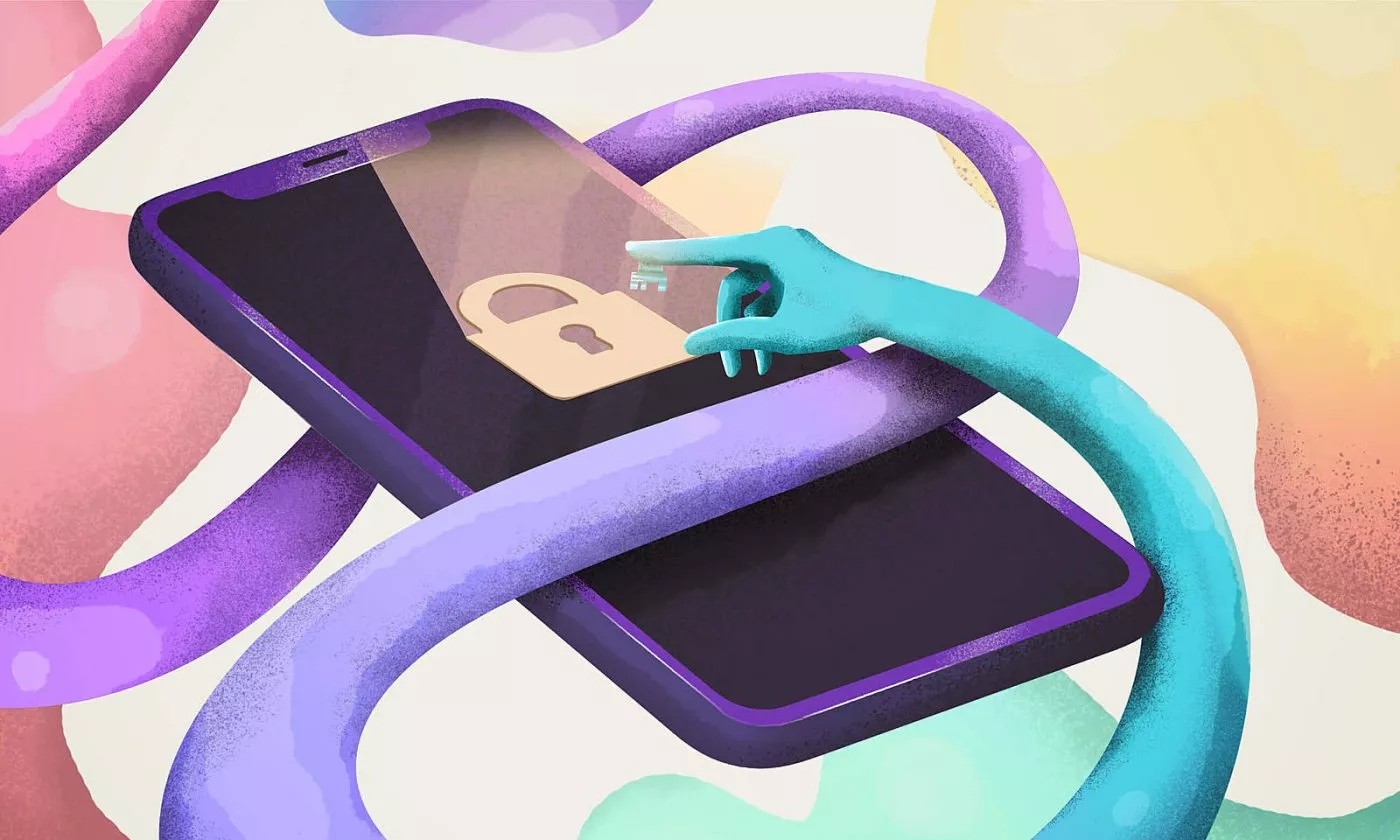
As you can see, biometric security is not limited to some specific domains. It is pretty much starting to be a basic requirement. If you find yourself working on such an app, our recently-published open-source library for iOS called Locker might just be the thing you’re looking for.
Why did we create Locker?
In September 2013, Apple introduced Touch ID at their iPhone event. The feature enabled users to unlock their phones by placing a finger on the home button, provided that their device supported the feature.
Shortly after the announcement, we started with the implementation of the feature in Infinum’s apps which required some sort of authentication. It was much faster than typing a password, which in turn made users happier.
The first implementation we did looked like this:

An easy way to log into your apps
When our other apps started requiring the feature as well, we noticed that they pretty much all had the same requirements as noted above.
At first, we weren’t reusing the code, we simply moved the implementation between projects when it was needed.
It was good enough, but we were basically breaking the DRY principle each time.
So, we decided to wrap the entire thing into a Pod, so that we have a single point of failure and ultimately an easier way of reusing the said implementation. Initially, the Pod was private.
In November 2017, Apple introduced Face ID. Afterwards, we promptly adjusted the library so that it would support both Touch and Face ID.
Having used the library for some time, we noticed that more and more of our projects started adding this feature in order to make their login process more streamlined and manageable.
That prompted us to open-source the library and share it with the community.
How does one use Locker?
Using Locker is amazingly simple.
In the library, you can find several methods that are there to help you with both saving and retrieving the login data. The data also includes other information, eg. whether the user enabled biometric authentication.
Let’s go over a few the most useful and the most important methods. We’ll focus on the ones that are used to retrieve and store the user’s password from or into the Keychain.
In order to save a password into the Keychain, you only need to call: Locker.setSecret(“userPassword”, for “id”).
Note: In case you need to update the user’s password, you’re free to use the same method.
Retrieving the password starts by asking the user to log in using biometrics with the following method:
Locker.retrieveCurrentSecret(
    for: "id",
    operationPrompt: "Use biometry to unlock your app",
    success: { secret in
        // do sth with secret
    }, failure: { failureStatus in
       // handle failure
    }
)
If the user authentication is successful, their password is returned back to you from the Keychain and you’re free to continue on with the rest of the login steps.
However, if iOS fails to authenticate the user by using either the Touch or Face ID, you’ll get your result in the failure closure. If that happens, you’ll likely want to bring up the keyboard and enable a manual sign-in for your users.
Of course, there’s also a method that deletes the password from the Keychain for you, called deleteSecret(for:). You’ll want to use that particular method if the user disables biometric authentication, for instance.
New finger, who dis?
We are passionate about security, so we wanted to make unauthorized login impossible.
Let’s say that someone gets access to your device and knows the password. They can easily go to the general iOS biometric settings and setup Touch or Face ID again, so that it matches them personally.
If your app has biometric authentication enabled, they can log in without a problem.
Now, that would definitely pose an issue, unless you make sure that it doesn’t happen. That’s what we did. You can check whether the biometric settings changed since the last time your password was saved in the Keychain.
That’s precisely what Locker’s property biometricsSettingsDidChange is for. If it’s set to true, your best course of action would be to disable biometric authentication completely, and delete the password from the Keychain.
Here’s an example:
let biometricsSettingsChanged = Locker.biometricsSettingsAreChanged
let shouldUseBiometryAuthentication = Locker.shouldUseAuthenticationWithBiometrics(for: "id")
If biometricsSettingsChanged && shouldUseBiometryAuthentication {
    Locker.deleteSecret(for: "id")
    Locker.setShouldUseAuthenticationWithBiometrics(false, for: "id")
}
And that’s it! Simple but effective.
Data safely stored in Keychain
So, is your application supposed to have similar biometric authentication behaviour as ours? If so, Locker might impress you with its simplicity and maintainability. Give it a shot.
In addition to the iOS library, we also made Locker version for Flutter, the new cross-platform technology.
It’s also worth noting that Infinum’s apps which make use of Locker passed dozens of penetration tests, so you can rest assured that all of the data is safely stored in your Keychain.
If you have any cool tips about keychain security, don’t keep it under lock and key.