


Learning how to build the UI without using storyboards is an option most iOS developers will encounter at some point during their work. You could call it a natural evolution that occurs as our knowledge expands and we start to get a glimpse of a very different world.
The theory behind this way of thinking is quite simple – ditch the storyboard and start writing your views using just code. However, bear in mind that you’re diving into an ocean of complexity called UIKit without the inflatable floaters a storyboard provides, and you will probably need to take some time to learn new swimming techniques.
When you finally gain some experience, you’re left with a vast amount of knowledge and a new dilemma: Should you use storyboards?
The answer is not that simple. Even our iOS team remains neutral on this topic and doesn’t favor one option over the other by default. Since each comes with its benefits, it’s a choice based on the project situation and its necessities.
Why Storyboards?
Why not storyboards? Creating user interfaces using storyboards is simple, and it’s what Apple recommends to everyone starting out in iOS development.
Storyboards are elegant, easy to learn, and more intuitive than using code for everything, at least in the beginning.
It’s easy to pick an element you want to display and position it on a screen. When you learn how to manipulate these elements to get them to look like you want, then you already know how to use outlets and constraints, connect the views, etc.
We use storyboards on our projects, and you’ll find them in practice for many types of screens – from the smallest ones containing only two labels to large scrollable ones where each section has some labels, images, or other elements.
However, we strive to make everything reusable, which can often get complicated when using storyboards. Not impossible, though.

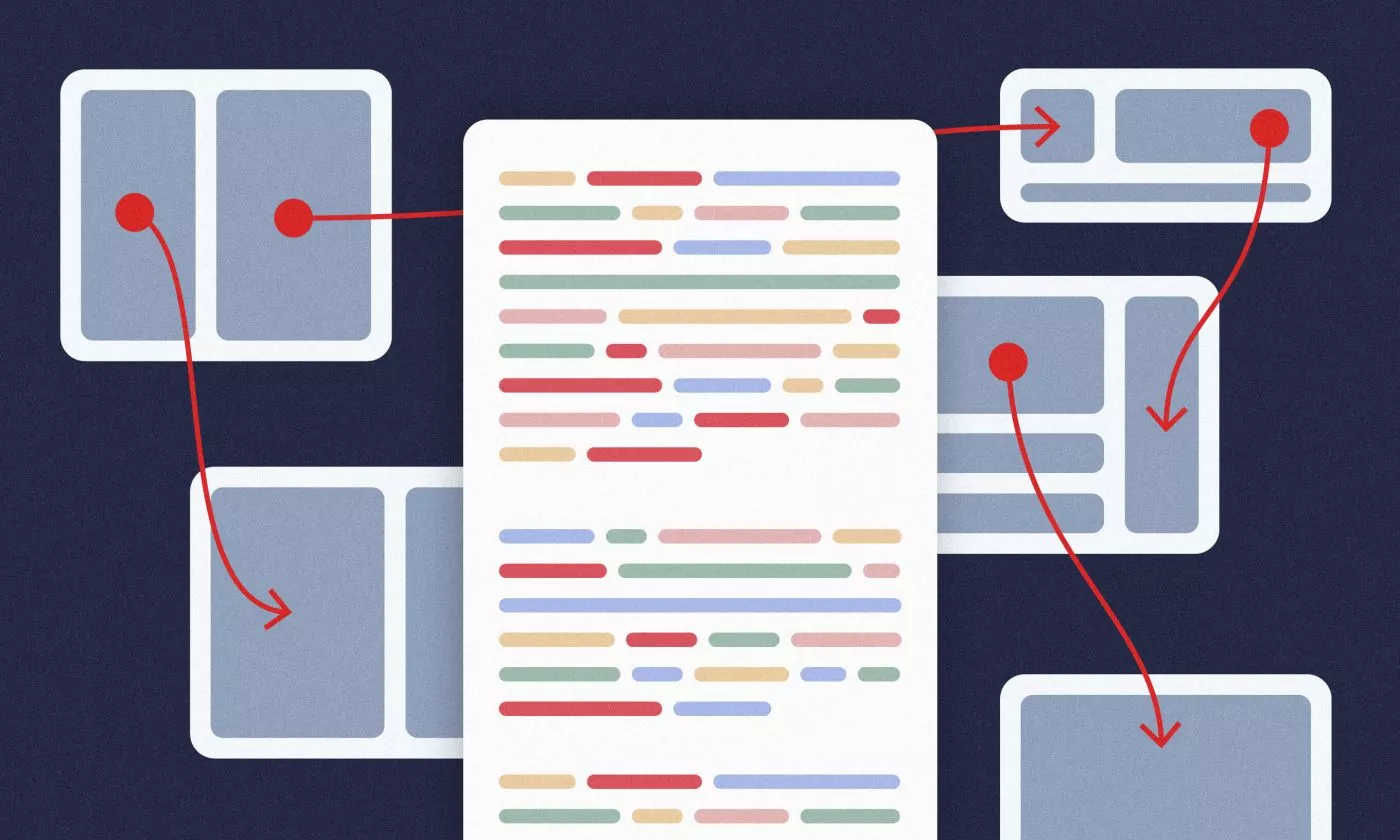
The picture above displays how easy it is to create a master-detail screen using storyboards. They are very flexible, meaning you can organize as many view controllers and views as you want into a single storyboard. However, doing so comes at a price. You might be facing extended loading time, as storyboards tend to take more time to load, whereas code files load almost instantly.
Experienced iOS developers won’t take too much time creating simple storyboard views like tables or collection cells with a couple of elements like labels, images, or buttons. It is easy to make some of them reusable, and they are easy to import as views in other storyboards.
Considering all this, editing storyboards is as simple as the storyboard is. It can get very complicated if you’re new to a project and have to investigate all the possible views and their options to replace something. Reviewing pull requests can be an even bigger challenge since Storyboards are basically Apple-inspired XML, and this makes it hard to see the important changes.
Why code?
On the other hand, writing interfaces using code is sometimes better. Even Apple with its shiny new SwiftUI framework is telling us to do that. In my experience, the switch can be somewhat counterintuitive, and you may feel lost at first, but if you take the time to adjust and learn, you will be absolutely fine. You may even shorten your development time.
Writing views in code comes with many benefits. However, they only come to the surface when you use important reusability principles. That way, you can create a complex view by combining several separate views or adding new, extended additions to the existing ones.
For example, the code below displays BaseView. In this particular case, it’s the base every other view will inherit.
class BaseView: UIView {


    override init(frame: CGRect) {
        super.init(frame: frame)
        setup()
    }


    required init?(coder aDecoder: NSCoder) {
        super.init(coder: aDecoder)
        setup()
    }


    private func setup() {
        setupLayout()
        let constraints = setupConstraints()
        if !constraints.isEmpty {
            NSLayoutConstraint.activate(constraints)
        }
    }


    func setupLayout() {
        // Method used for overriding
    }


    func setupConstraints() -> [NSLayoutConstraint] {
        // Method used for overriding
        return []
    }
}
We can create any other view in the same way. For example, many apps have elements displaying an image and a label placed horizontally. We’ll name it BaseListItem for consistency. This class will inherit BaseView, so the methods for setting up the layout and the constraints will also be used. By the way, constraints are a whole other beast, and we won’t cover them here. When creating UI elements with code, the most important thing is to set the view property translatesAutoresizingMaskIntoConstraints = false. If you follow my suggestion in the intended way, you make an extension to the UIKit and implement some static method that sets it to false, similar to what our create() method does here.
class BaseListItem: BaseView {
    private lazy var image = UIImageView.create()
    private lazy var titleLabel = UILabel.create()
    private lazy var stackView = UIStackView.create()


    override func setupLayout() {
        super.setupLayout()


        stackView.addArrangedSubview(image)
        stackView.addArrangedSubview(titleLabel)
        addSubview(stackView)
    }


    override func setupConstraints() -> [NSLayoutConstraint] {
        var constraints: [NSLayoutConstraint] = []
        constraints.append(stackView.pin(to: self))
  return constraints
    }


    func configure(with item: ListItem) {
        image = item.image
        titleLabel = item.title
    }
}
Any other view can be added on top of this BaseListItem. This class can be configured and is ready to be used anywhere else with many possible configurations. Essentially, this is more efficient and easier to understand than dragging and dropping elements without realizing what is happening in the background. Writing constraints by hand for the first time can get confusing, but this way, we control the elements exactly how we want.
When changes do occur, they are easily visible to your colleague in charge of the PR review. They don’t need to take a lot of time decoding the immersive XML experience and can use it in better ways.
As mentioned before, our team doesn’t give preference to any option, and we tend to take the best of both worlds. So in practice, both storyboard-built and code-built UI can be found in our project files.
When you’re starting to learn Swift, storyboards can be of great help, and when you gather enough experience, writing your own UI is just another adventure on the way.
Ready for the future
You might wonder how useful it is to learn all this since Apple is slowly but surely pushing SwiftUI as the go-to option when developing for their platforms. It’s been up and running for over three years, and it’s getting better with every new iteration. Moreover, some features like widgets or live activities can only be implemented using SwiftUI.
Still, neither storyboards nor the UIKit are going away anytime soon. I would always recommend learning how to write the UI from code and using storyboards before you dive into SwiftUI. Under the hood, the modern declarative framework is still very dependent on the UIKit, and learning it will give you an excellent basis to start your journey with SwiftUI, even though its logic and ways are much different from the old ways.


