Before you can start using Git, you need to generate an SSH key and add the public part of the key to your GitHub and Bitbucket accounts. That way, you can interact with private repositories without entering your username and password all the time. Just remember to clone the repository using the SSH clone URL.
Using Git
As a part of git standardization we created this document which contains all the important information on how we are using git.
Git Flow
We use a variant of the Git Flow workflow. There are some differences between our variant and the linked page, as it is described in Git standardization document.
On most of the project we are going to use main as main branch and dev is not going to be used. All the development will be done on main branch. Each release is tagged with the version number as it is described in Git standardization document.
We noticed that when having both main and dev branches only one of them is used actively. Since we have tags on release commits, having a branch that only contains published code seems unnecessary. That is why, for the simplicity, we only keep the main branch as the main branch and track releases via tags.
Git tagging
Before releasing the app on PlayStore, the release has to be tagged with the version number. Also, provide a short description for the release. Here's an example of adding a tag:
git tag -a v3.0.0 -m “The best version ever“
git push --tags
You can find more info about tagging here.
Naming conventions
The development branch should always be named main, for consistency across projects.
Branches are named according to their use, and words are delimited by dashes. You sould use Productive/Jira task number when possible. Some examples:
feature/123-login-screen
enhancement/ui-improvements
fix/533-pin-user-alert
Starting work on a new feature
git checkout main
git checkout -b feature/123-login-screen
Merging the feature into main
The preferred way of merging a branch back into main is by creating a pull request and assigning it to a colleague for review.
There are two different roles in every pull request—the assignee and the reviewer. Reviewers are your colleagues who review your pull request, whereas the assignee is the person responsible for merging or cancelling the pull request—in other words, you.
If the branch cannot be merged back into main because of a merge conflict, you need to fix the conflict on your feature branch by either rebasing from main
git checkout feature/login-screen
git rebase main
or by merging main into your branch
git checkout feature/login-screen
git merge main
Release branches
Most projects have one active development stream at the moment. This means that all new changes should be included in the next upcoming release. Because of this, all changes can be merged into the main branch without the need to introduce multiple release branches.
However, some projects have multiple releases planned ahead. It is possible that, at some point, a development team will work on multiple releases at the same time. In that case, release branches should be introduced and handled in the same manner as the main main branch. You can use regex to match all the release branches and not worry about protecting the newly created ones. Note: If you want to delete a protected branch on GitHub you will need to remove the protection because this can't be done, even with admin privileges.
When working with release branches, it needs to be clear which task should be included in which version. If you are not sure, ask the project manager before starting the task. In Productive, release versions can be defined with tags or boards. In JIRA, you can track the status of each release and define a Fix version/s attribute on a task.
After releasing a new version from the release branch, make sure to create a new tag with that version from the last commit in that branch. Then you can merge the release branch into the main branch. Don't forget to also update all other active release branches.
Commit early, commit often
Don't forget to commit and push your code to the remote repository. This will protect you against losing your hard work. Make small commits with meaningful commit messages and push at least once a day.
Don't commit generated code
Generated code does not belong in the repo. Use the .gitginore file to exclude it. This file can be generated using the gitignore.io tool. All you need to do is write a few keywords (such as MacOS, Android, IntellJ, Android Studio), and the tool will generate the file content for you.
Don't commit chunks of commented out code
Don't comment out code and commit it to the repository so you can 'uncomment it if you ever need it again'. This creates a mess in the code and makes it less readable. It's easy to return to an earlier commit and look up the code that you removed, so there is no need to leave commented code lying around everywhere.
Resolving merge conflicts

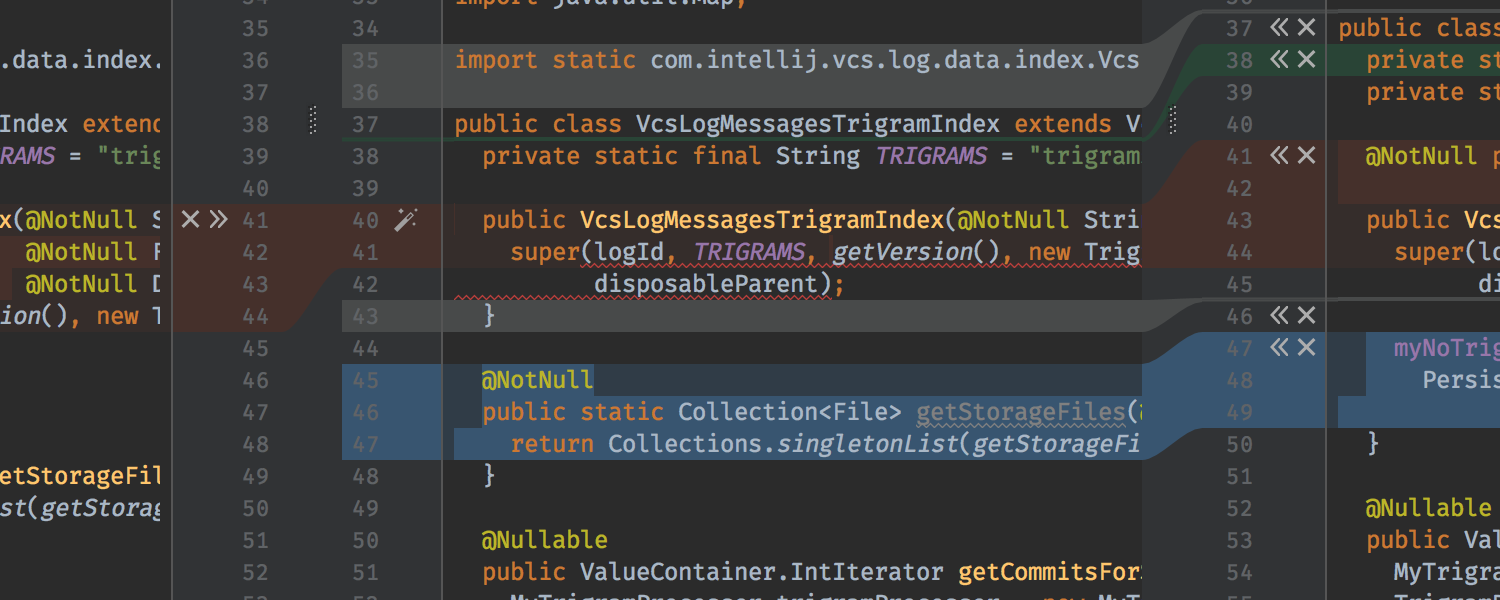
Android Studio has a great built-in tool for resolving merge conflicts.
You can find it in Git — Merge or Rebase - Resolve Conflicts.
Before you can use this tool, select Git as your VCS for your project under Preferences — Version Control.
You can find more details about the tool here.
Quick trick
For a quick overview of your commit messages for today and yesterday, you can use the following aliases:
alias today='git log --since=6am --format="* %s" --author="$(git config user.email)" --reverse -- | pbcopy'
alias yesterday='git log --since=yesterday.6am --until=6am --format="* %s" --author="$(git config user.email)" --reverse -- | pbcopy'
