


A couple of weeks ago, we published an article that provided tips on making a smooth migration from Zeplin to Figma for developers.
In the design team, we changed the whole workflow from Sketch to the Figma. It was an agreement across the entire agency and in coordination with the clients and management.
We did it step by step, it took some time, but now we are ready to share knowledge and help others make the transition.
The first step: A new project
When you need to make the switch, Figma provides great import from the Sketch file. You need to clean up your file later, but it’s not such a big mess and the effort is worth it.
The first step to take is to create a new project in your Team File. You can invite Project Managers and Developers to the project so they can see the file. You can invite clients as well. If you prefer, it’s possible to limit access only to the people invited to the file.
Creating and editing the Library
First of all, if you haven’t, save your Sketch file locally from Abstract, if it’s stored there. Then open up Figma and create a new document. Next, go to File → New from Sketch File. After you choose that, it will take some time for Figma to transfer your file.

Now that your file is transferred, it’s time for some file organizing and cleaning up.
The Library is the first thing you need to create or edit. If you are confused, Library is actually a Symbols page in Sketch, only stored in another document connected to your working file. In Library, you can also create your colors & typography style guides.
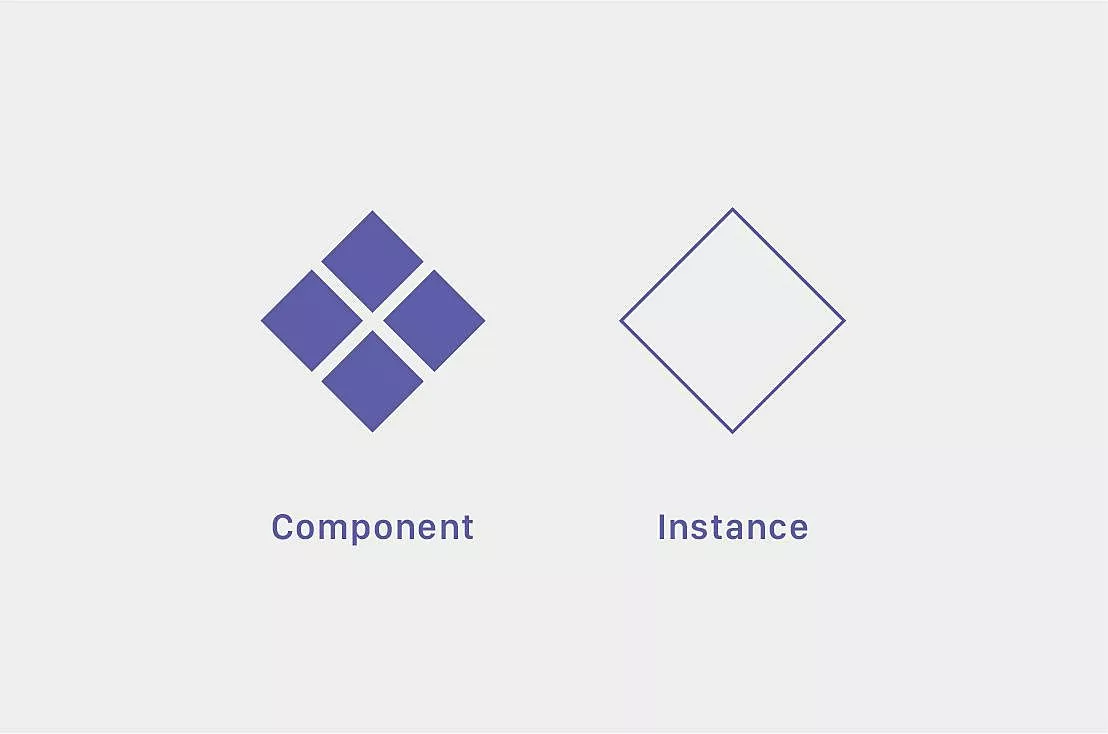
Figma uses Components over Symbols that can be reused across your designs. When you reuse them, they are called Instances. You can differentiate them by their Symbols. Also, you access Instances in the Assets panel.
Depending on the size of your file or the preferred workflow, you can create Library inside your file or create a separate one. As you once had the Symbols page in Sketch, you now automatically have Library page inside your file.
Integrated or Separated library?
For a smaller project, you can integrate the Library inside the same work file. In that case, there is no need to do a separated file. A major reason we did a separated library file was because of the project size and scope.
The instructions for a Separated library
When you import the file from Sketch, everything is just one file. How can you create separated a Library file with an imported file?
Firstly, open your transferred file and go to Assets → Team Library and then click on Publish. Now, click on Move to Team Library and choose your team. The next step is to add some description if you want, then click on Publish and there is your Library.

Now that you published the Library, go to File → New. You need to create a new file in which you will copy all your screens from library Page by Page, and only leave Symbols page in Library that will consist of all your Components.
But if you want this to work, first you must connect your New File with Library. To connect it, in your new file go to Assets → Team Library and activate the library you published a minute ago.

Finally, it’s time to copy & paste. In New File, create New Page and start copying your screens Page by Page.
When you copy the first Page choose one screen and click on your Instance, ex Symbol. Then right click and choose Go To Master Component. If you are automatically switched to another tab which is your Library file, you have done everything perfectly!
Oh, and don’t forget to delete your screens from Library file which you copied in New file. Leave only the Symbols page.

Cleaning up the file
Cleaning, cleaning and organizing. You’ve probably realised that some of your Icons or Text / Color Styles are messed up. To clean that up, open the Library file / page and take the following steps:
1
Create Color Styles
2
Create Text Styles
3
Apply Color and Text Styles to Your Components
4
Go through all the components and organize them by function
5
And 32 hours later – voilà!
The great thing about your Library file / page is that now it is Components and Style Guide in one!
Rearrange your components by their functionalities separated by Artboards. That way, your file will be best organized and you will now that everything is in place. But first, focus on creating Color and Text Styles.

It’s better to start clean and organized
If your file in Sketch is not well organized, don’t bother organizing it in Sketch if you will transfer it to Figma. Figma handles some situations, as mentioned, different than Sketch so the best thing would be to start from the beginning in Figma.
Remember to expand all strokes and icons. That might stop them from deforming during transfer.
Finally, if your file is big and contains many components, maybe add color and text style to it when you use it next time. Doing this can save you some time if you won’t use all of your instances in a new design.
And don’t forget to write down a note for yourself or your team so you will remember to do this.
Team Sketch or Team Figma?
We believe this is the same situation as team Android or iPhone. Pick your poison according to your own preferences and needs.
If you do choose to make the switch, know that there isn’t even such a learning curve because Figma handles tools in the same way as Sketch. Also, no need to worry about your file storage. It’s is up in the clouds, safe and sound.
We are 100% percent for making the change. Give it a shot – chances are you will be, too.